Making Turing Patterns with Illustrator
Overview: A fully editable, vector‑only workflow for creating organic reaction‑diffusion Turing textures and seamless patterns in Adobe Illustrator.
Interested in creating vector-based Turing patterns and other organic surface textures, but only know how to Photoshop it because you saw a YouTube tutorial? Let me slap the mouse out of your hand and show you the various ways to create the same beautiful textures solely in Illustrator, and Illustrator alone.
What you’ll learn
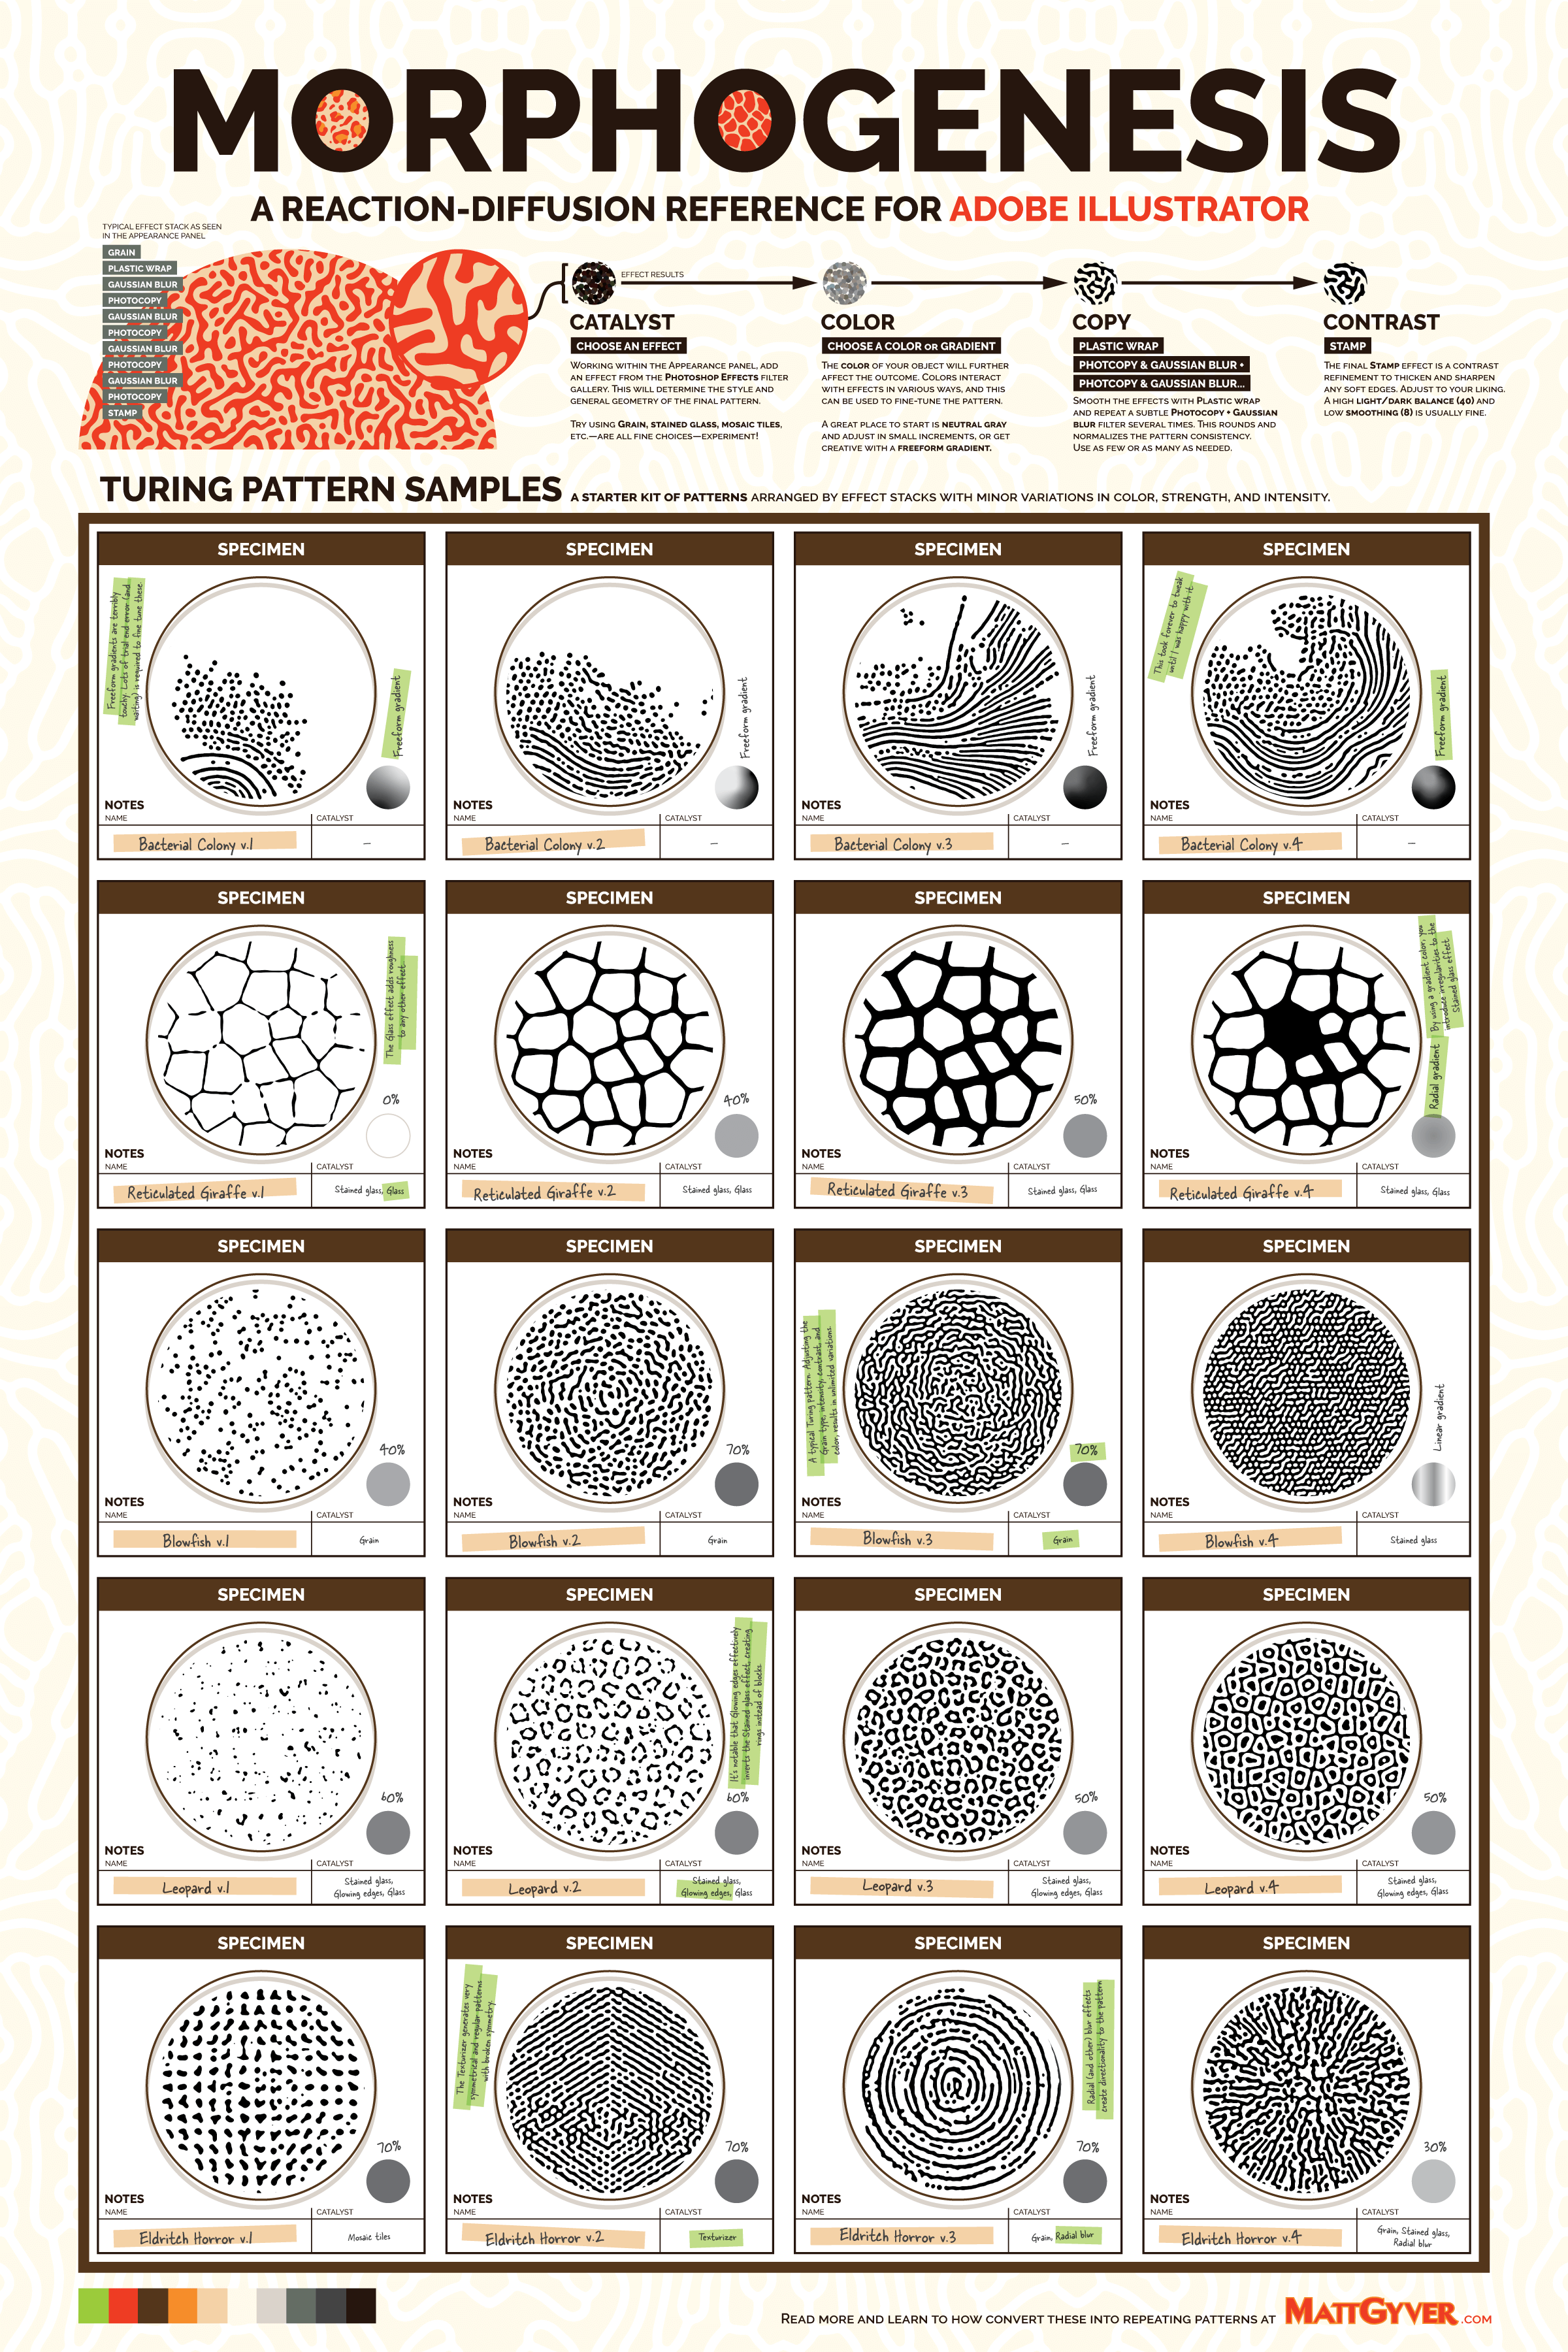
Over the course of this exercise, you’ll learn to get intimate with Illustrator effects and build a collection of non-destructive, fully editable, organic Turing patterns (giraffes, leopards, and blowfish oh my!), and then vectorize these patterns into seamless tiles to use in any project. There’s even a fancy downloadable Illustrator file where I’ve done most of the work for you… just in case you’re only here for the vectors. Vectors be praised!
A Brief History of the Turing Pattern
Turing patterns, interchangeably known as reaction-diffusion mathematical models, represent the mathematics of nature. You’ve seen these patterns on cheetahs, giraffes, zebras, coral, and really every animal whether you realize it or not. The concept was introduced by English mathematician Alan Turing (yes, the Enigma code breaker) in a 1952 paper titled “The Chemical Basis of Morphogenesis.” The paper describes how some patterns in nature, such as stripes and spots, can arise naturally. This TED article sums up Alan’s endeavors nicely.
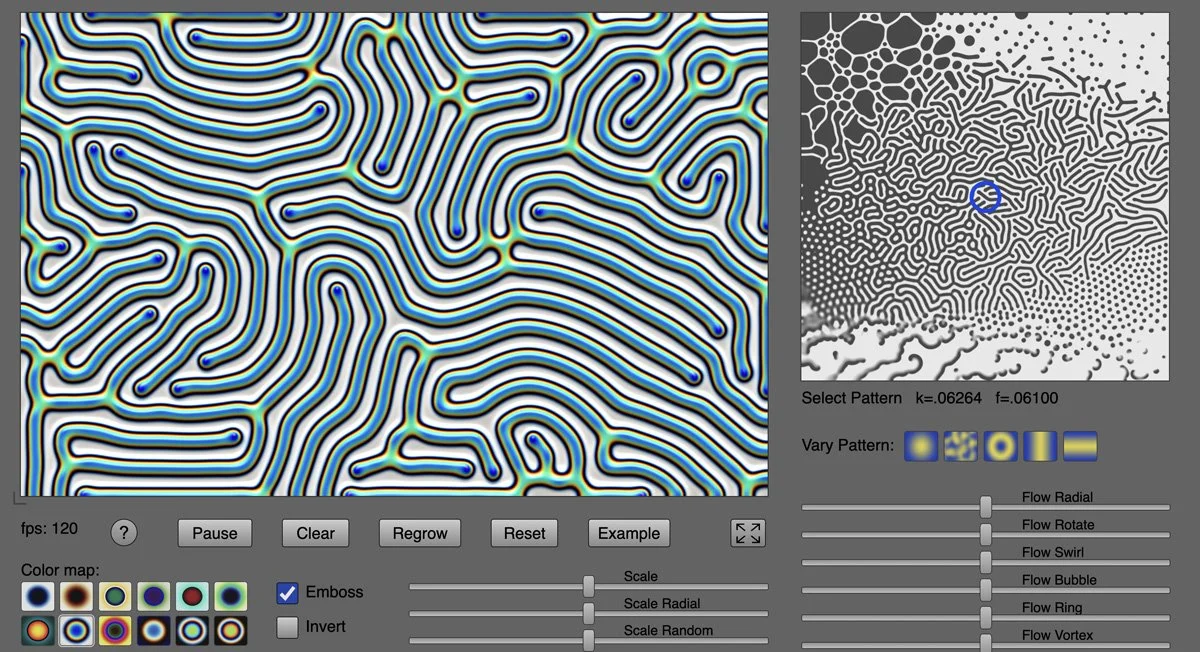
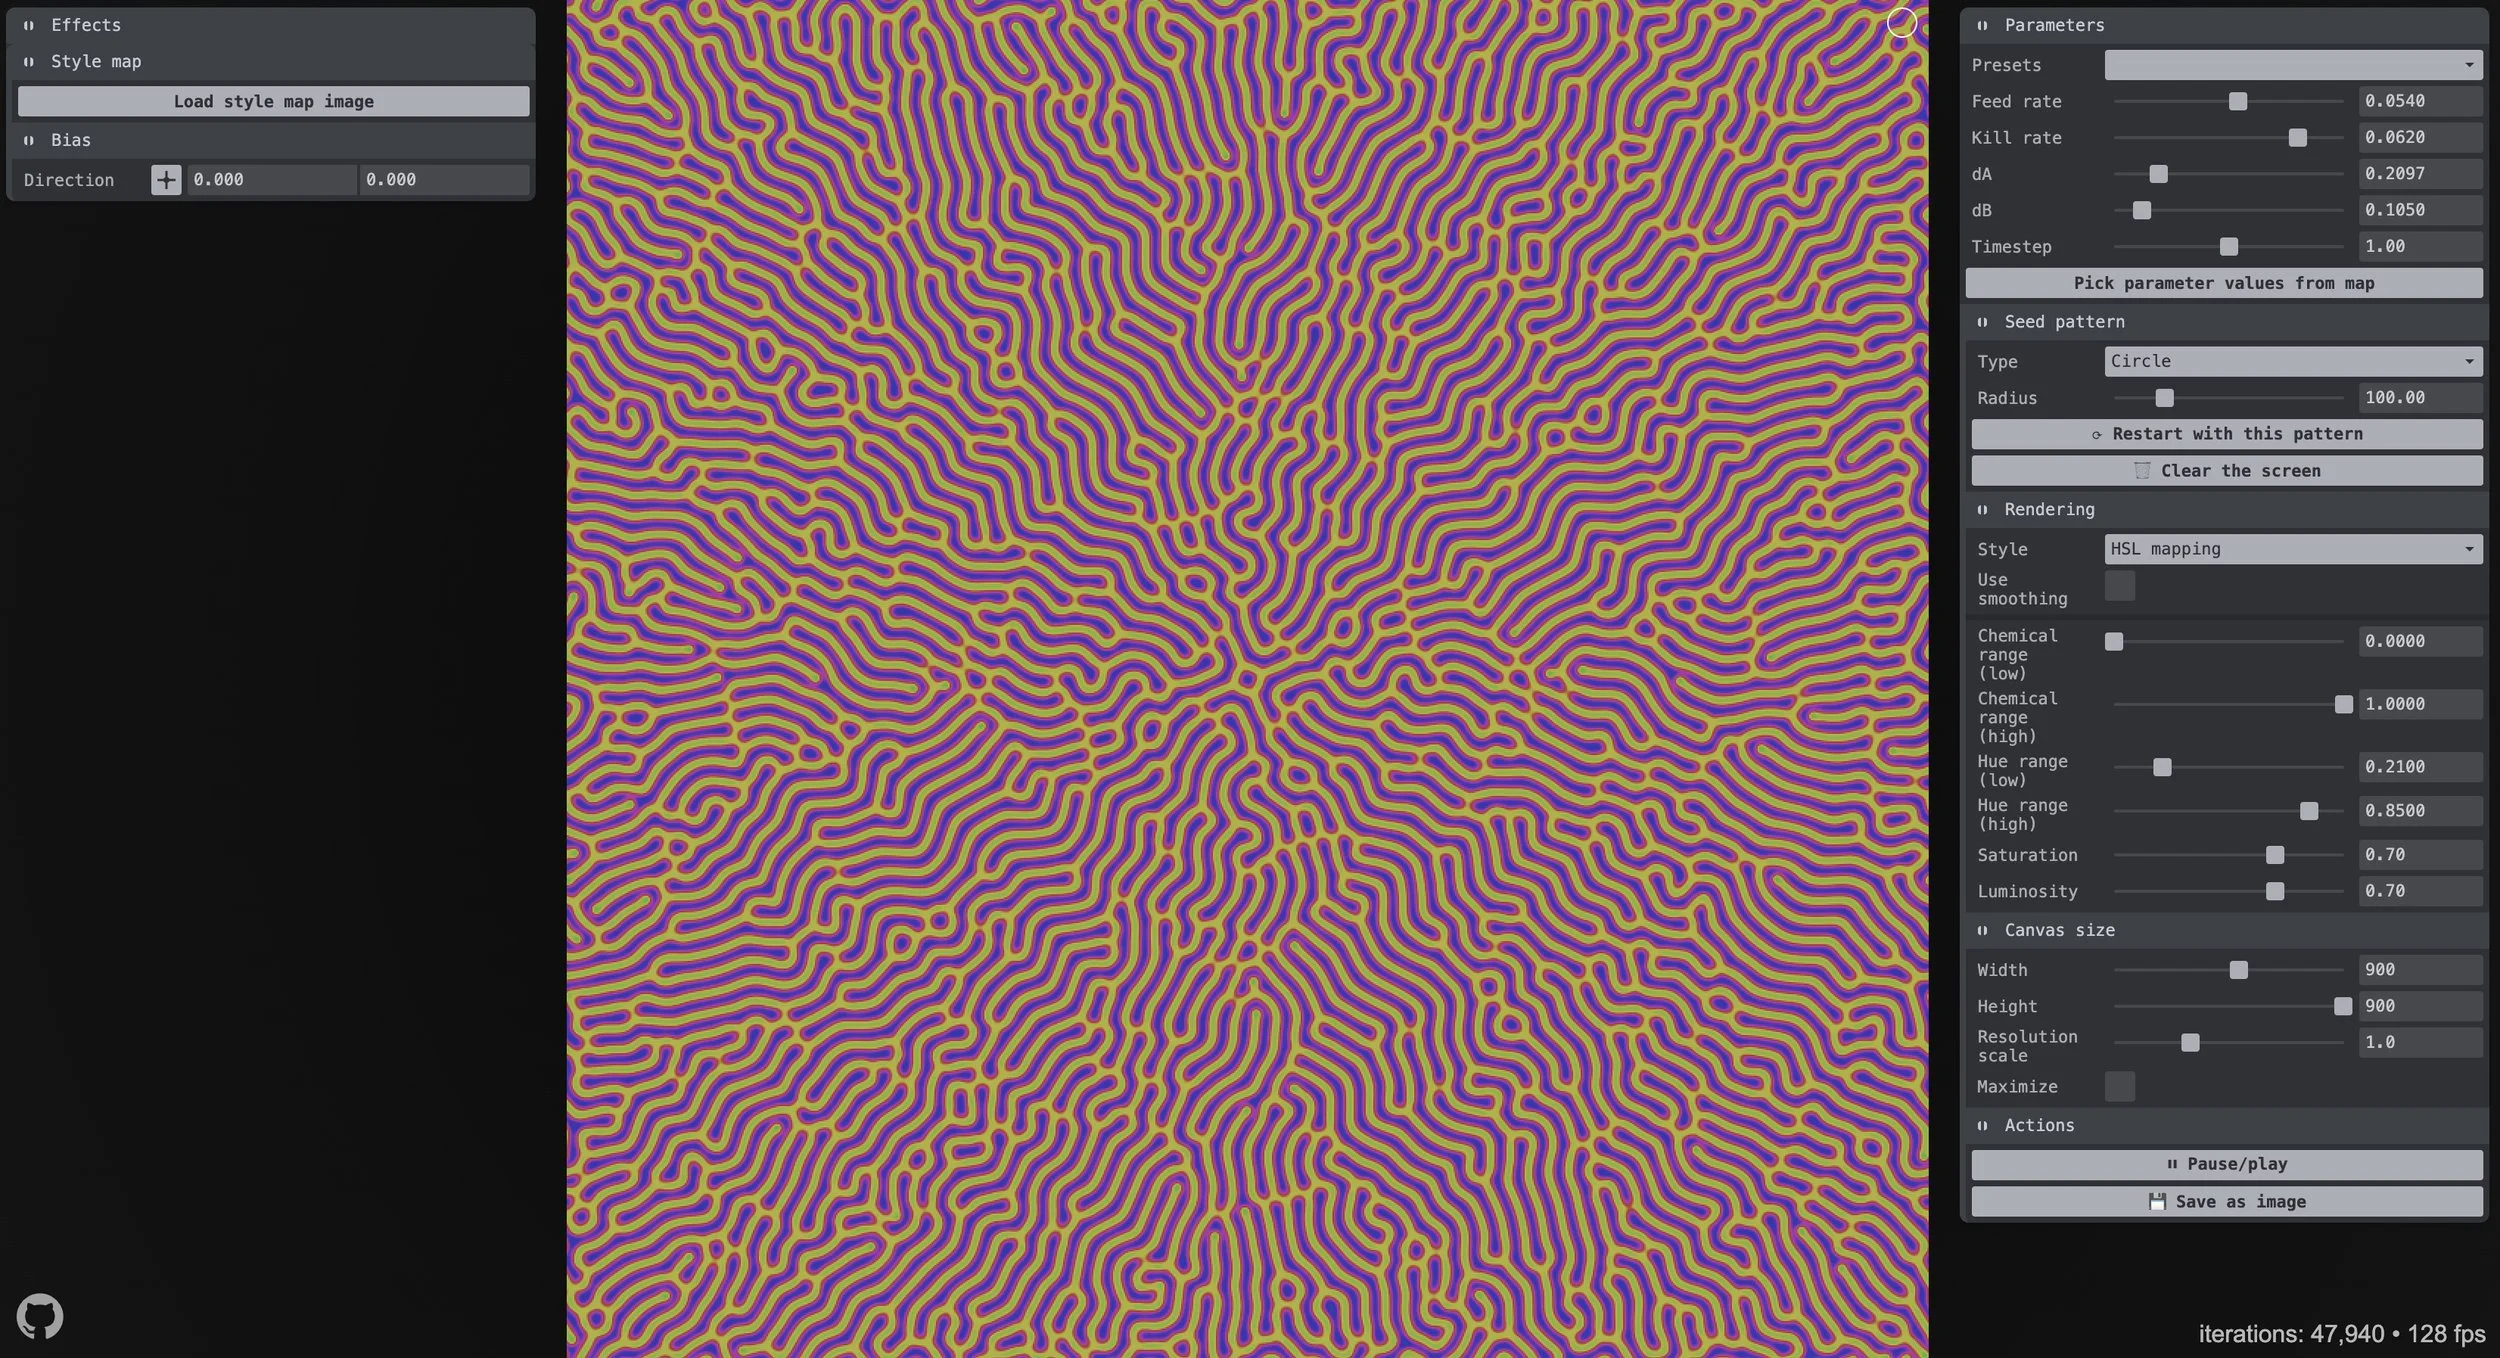
For inspiration, check out these brilliant and beautiful reaction-diffusion pattern generators:
One could simply stop here, paste a screenshot from the Turing generators into Illustrator, and run it through image trace to convert it into vectors. If that’s more your style, skip ahead to the Tiling Turing Patterns section below.
Why not use Photoshop?
There are a few tutorials out there for creating Turing patterns in Photoshop, including this really great one for making seamless tiles. These Photoshop methods are basically Render > Clouds and run a dozen or more High Pass + Threshold + Blur actions. It’s especially finicky to tile seamlessly but overall makes a nice raster image at a very specific size. However, once vectors are needed—the process is always the same—import your work into Illustrator, perform an image trace, and noodle with it until it looks good.
So… why use Photoshop at all? We can achieve the same results in Illustrator from start to finish with a bit more freedom and a lot more flexibility.
1. Getting Started
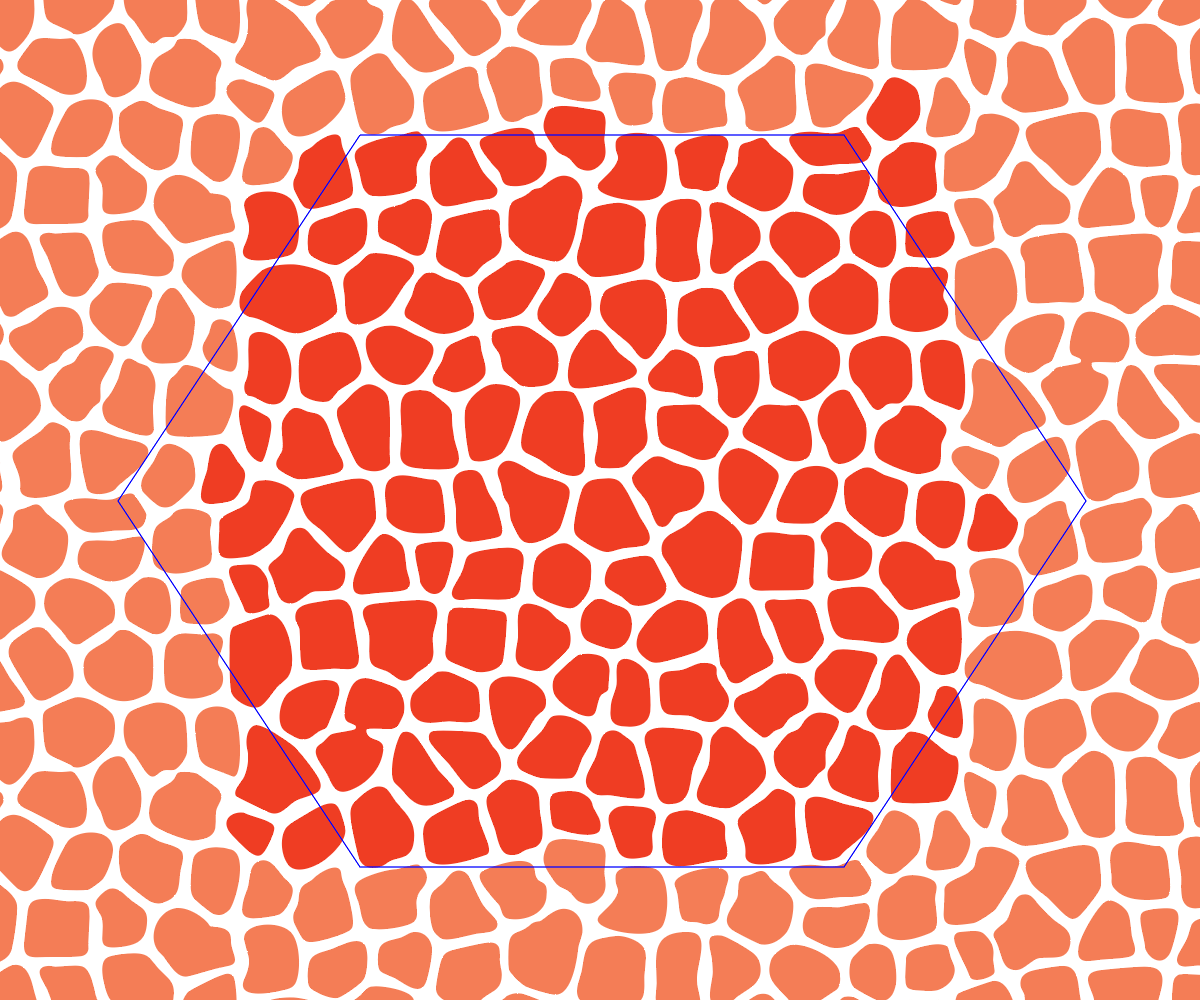
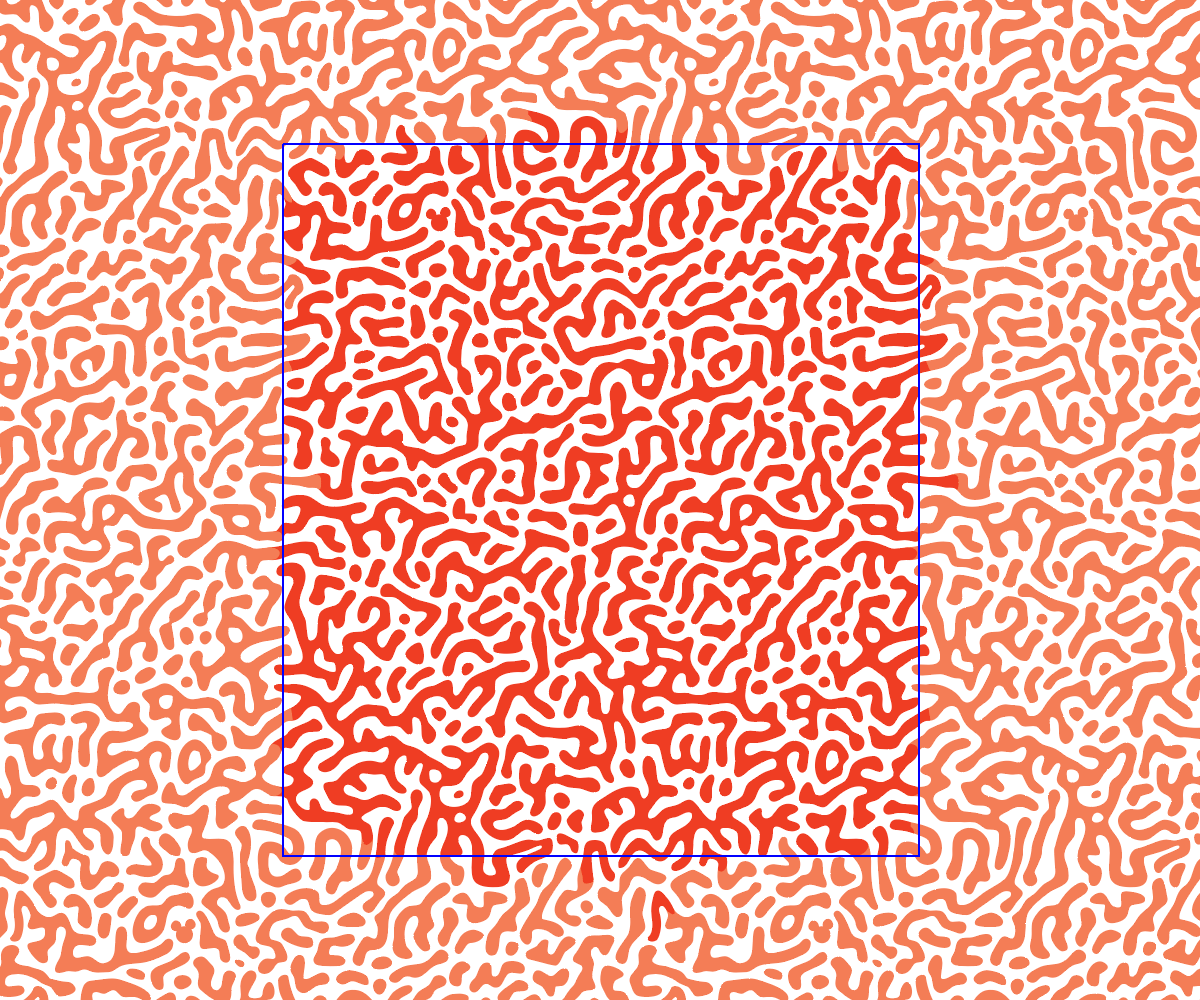
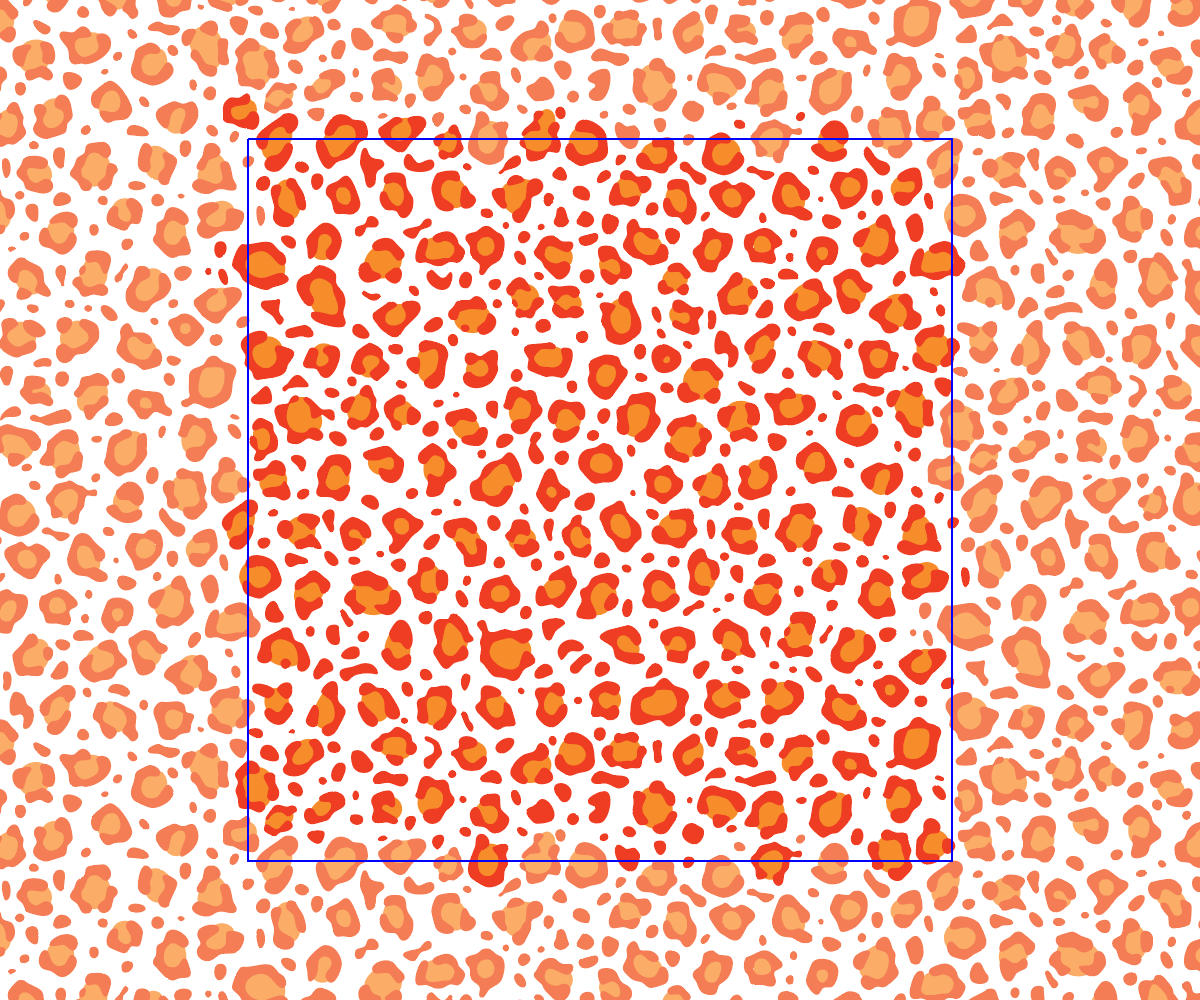
I’ll be making three different Turing patterns with increasing complexity: a giraffe pattern (usually called a Voronoi pattern), a blowfish, and a leopard. The approach is largely the same for each, with slight changes to the effects and settings (and lots of room to experiment). The ultimate goal is to have a small library of Turing pattern graphic styles and vector patterns that can be scaled or recolored to fit any design or application.
100% vector giraffe pattern, a blowfish or brain coral, and the elusive spotted leopard.
2. My Turing Pattern Process
The process is divided into four steps: catalyst, color, copy, and contrast. As you work through each, you will often find yourself returning to previous steps to make small adjustments and try different things. Vectors are free, so if you happen to find a nice combination, make a copy or save it as a graphic style for later. I wound up with over 30 variations while trying to put this article together (download below 👇).
Start with a basic, neutral-colored shape. I typically begin with 50% gray. Depending on the combination of effects in the upcoming steps, slight variations in color can alter the outcome in wildly different ways. Neutral gray is a good baseline.
3. Choose a catalyst
What I’m calling the catalyst will influence the evolution of the pattern. Choosing an evenly distributed noise texture will result in a tighter, more evenly toned pattern. Whereas a stronger block or cellular effect will return larger organic shapes.
Add the first effect
Open the Appearance panel for your shape and press the fx button and choose an effect from the Photoshop Effects panel.
For a classic Turing pattern the Grain filter works really well.
These three specimens will focus on the Grain and Stained glass filters. There’s lots of room to experiment; try the Pixelate effects like Color Halftone, Pointillize, and Mezzotint—all are fine choices—or try the entire Effects Gallery.
Note: If you’re familiar with the Photoshop methods for generating Turing patterns, you’ll notice Illustrator does not offer Render > Clouds of all things (ノಠ益ಠ)ノ彡┻━┻
Here are my initial specimen settings:
Giraffe: Cell Size: 44, Border Thickness: 16, Light Intensity: 0
Blowfish: Intensity: 90, Contrast: 42, Grain Type: Clumped
Leopard: Cell Size: 40, Border Thickness: 14, Light Intensity: 10
Notice the blowfish clumped grain introduces some noisy color. That’s fine because the final output will always be black and white; ignore the color.
Pro tip: Remember that Illustrator effects are all non-destructive and can be changed at any time to fine-tune the results. This is an exploratory experience, and you’ll often need to adjust the settings as you go.
Add the second effect
Add another effect that alters the original by making it rougher and more unique. The catalyst can be as simple or complex as needed. Usually less is more, but sometimes more is more, if you know what I mean.
Here I’m using Glass to add a small amount of distortion to the giraffe, Plastic Wrap to smooth the blowfish grain and give it an embossed look, and Glowing Edges on the leopard which changes the stained glass to look like tiny cells with membrane walls.
Add a third effect
The third effect is just another delicious layer in our biological experiment. Here I’ve added Gaussian blur to the giraffe, and a Glass effect to the blowfish and leopard. Everything is now set up and these can be finessed into proper Turing patterns. This is where Illustrator starts cooking.
4. Choose a color
This is a good time to adjust the color to see if there is any meaningful difference. Try something very light like 10% white, or really dark like 90% black. Or even try a radial, linear, or freeform gradient, either by itself or combined with the effect.
For now, what I have is fine. We might come back later and make adjustments. The color step is really one that can live anywhere in the process, and I find myself revisiting it often.
5. Copy and Repeat (Blur and Photocopy)
This is where the Turing pattern noticeably begins to take shape. Add a Gaussian blur and Photocopy effect. Gaussian blur smooths the prior effects, and photocopy adds a degree of contrast. When used together they behave a bit like Photoshop’s high pass/threshold/blur filters by refining and randomizing the the Turing pattern catalyst.
After a single application of those two effects things are finally getting somewhere, the blowfish especially.
Now repeat the Gaussian blur and photocopy effect pair a couple more times to smooth and tighten the results—two to six times is normally fine. Be gentle though, it’s better to duplicate and apply the pair several times with low settings than it is to use them as a single pair at full strength. Here are my settings:
Gaussian blur: Radius: 6
Photocopy: Detail: 10, Darkness: 8
I repeated those steps five times on the blowfish shape to really solidify the Turing forms. The others didn’t need nearly as much (results below).
We’re nearly done. Depending on the effect stack, Illustrator will take a hot second to rebuild the effects every time you make a change. Gaussian blur can be a drag.
6. Contrast
To put the finishing touches on the pattern, apply the Stamp effect. This removes most of the remaining fuzzy gray edges and solidifies everything into a sharp-edged black and white shape. My stamp settings are usually this:
Stamp: Light/Dark Balance: 18, Smoothness: 4
Increasing the Stamp’s light/dark balance and reducing the smoothness will thicken the shapes. Doing the opposite will thin them out. Leopard was particularly touchy trying to create broken ring shapes as I had to adjust the stained glass settings for just the right thickness; it’s a delicate dance.
Everything is looking great, but don’t forget to revisit the object’s color. Notice there was a slight change in the gray used for the giraffe specimen; it was needed to even out the thicknesses of the lines.
Pro Tip: Save the effect as a graphic style
Go ahead and save the object’s appearance by dragging the shape into the Graphic Styles panel. All that hard work and experimentation can now be applied other shapes with a single click (hint: it works on text too).
Free download: Turing Pattern Worksheet
I’ve been dabbling with this article for a while and finally organized the process enough to share. Here’s a free downloadable Illustrator file with my reaction-diffusion Turing experiments where you can inspect how each is created. These are all great starting points for your own project (and there’s even more patterns outside the artboard).
7. Vectoring Turing Patterns
Now that we have a beautiful Turing pattern, the effects will need to be converted into vectors so they can be colored and seamlessly tiled. This is the point where the filters will become irreversible—be sure to save a copy of your object somewhere on the artboard, and remember to save your effect as a graphic style.
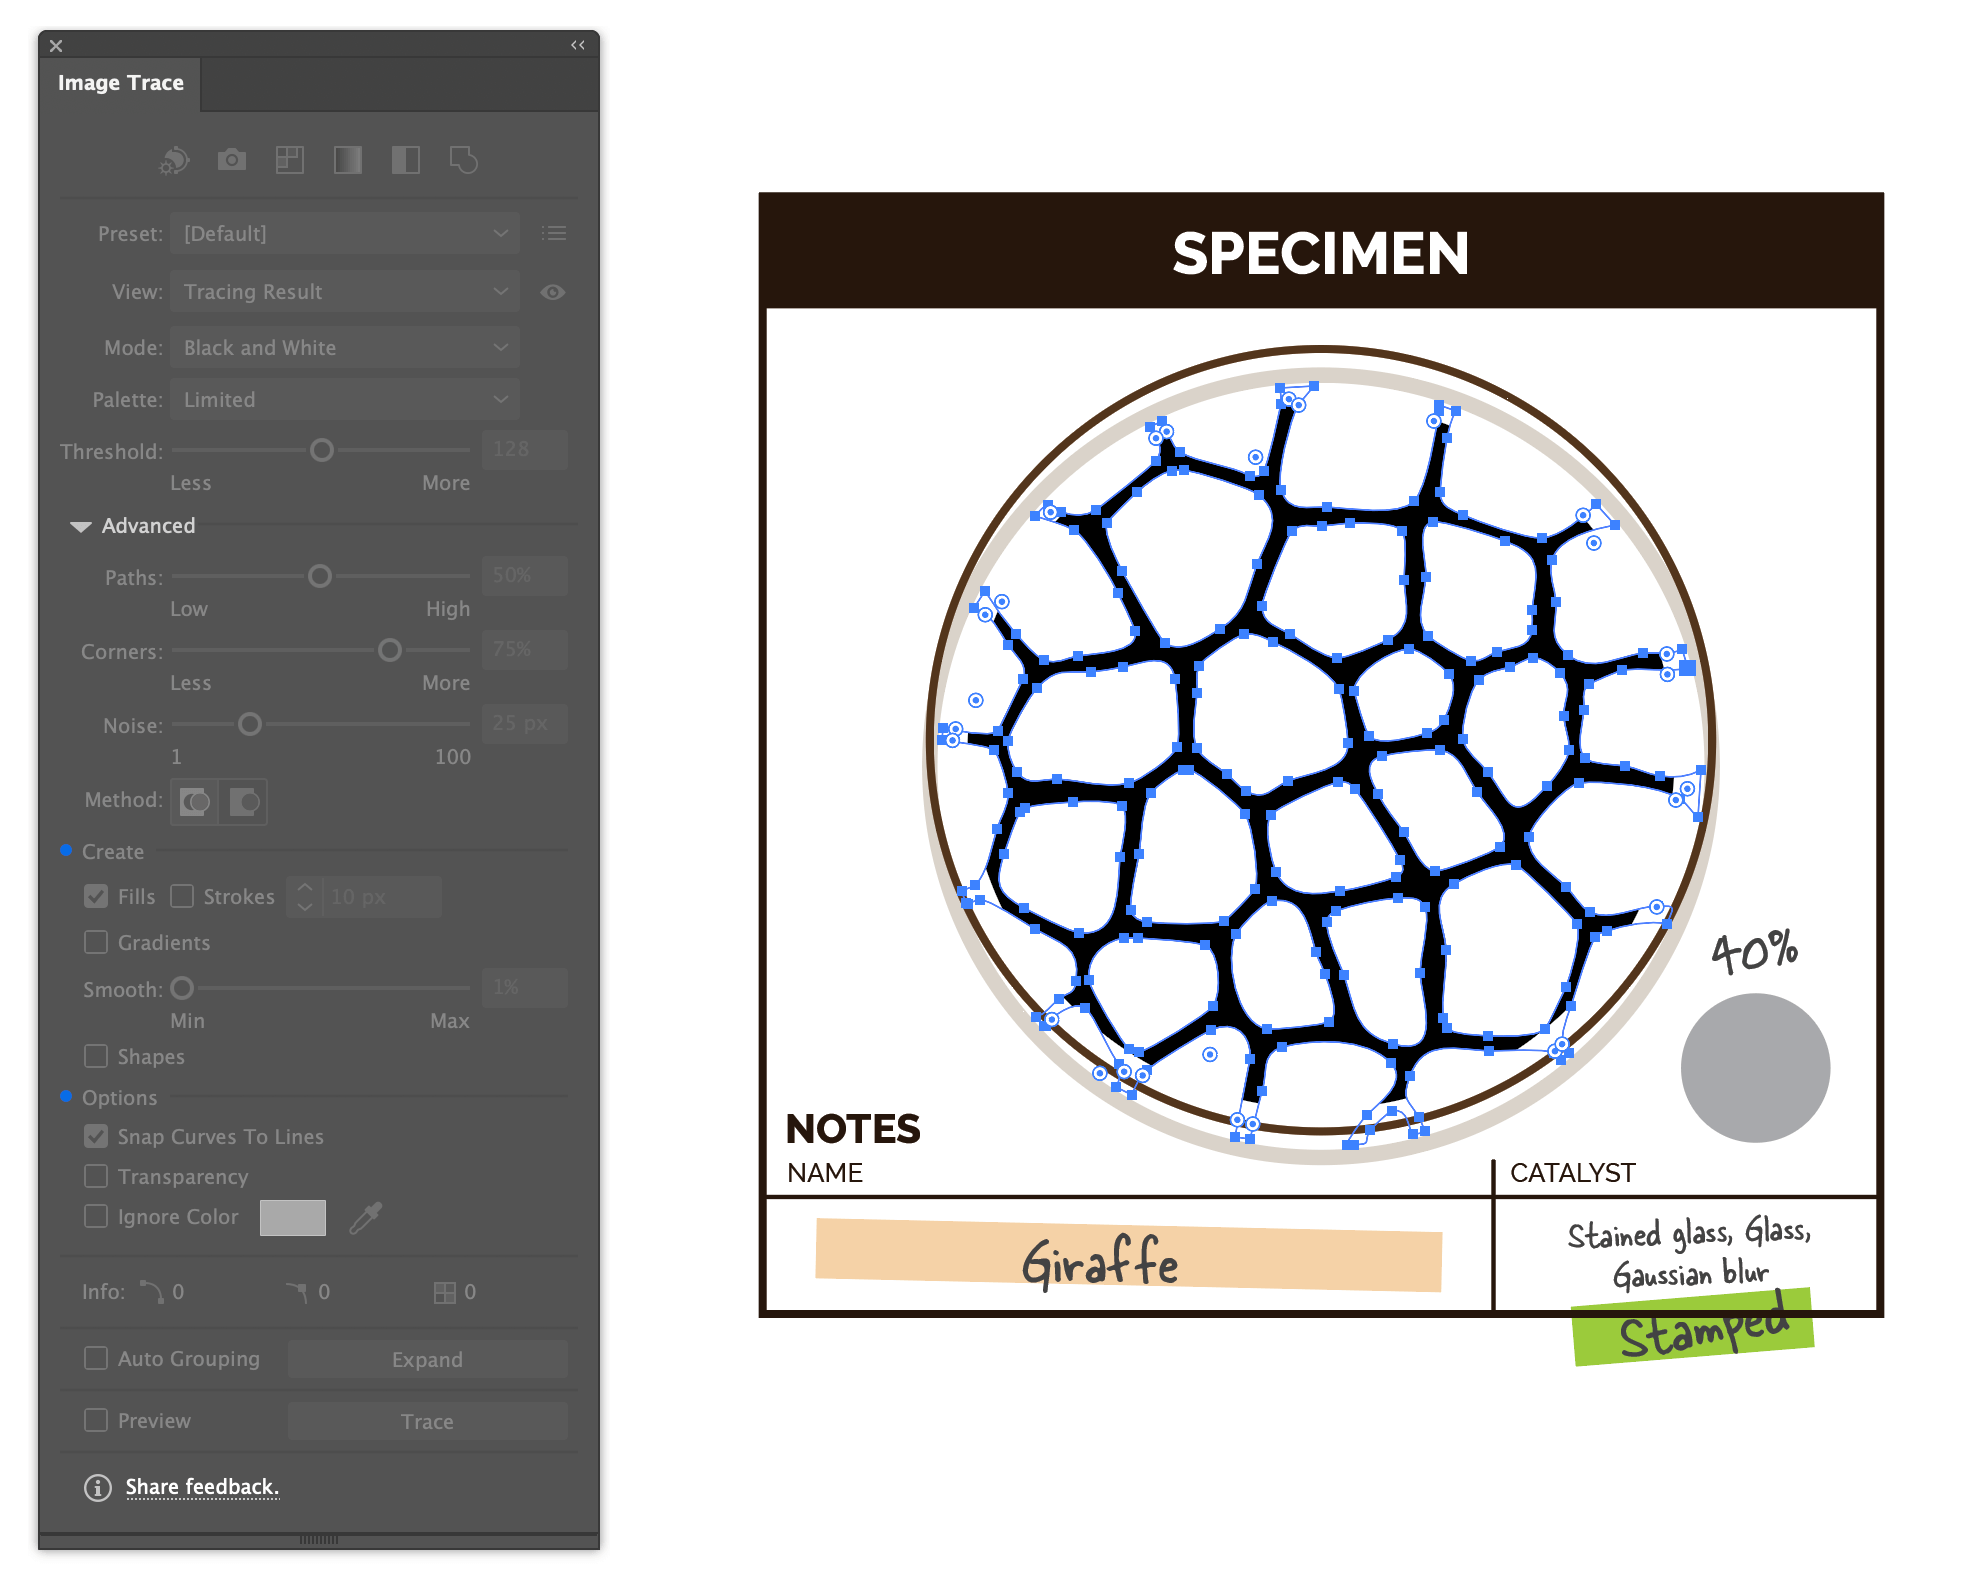
Destructive edit 1: Image Tracing
With your shape selected, open the menu and choose Object > Expand Appearance. This is a destructive edit and essentially ‘bakes’ the raster effects onto the shape.
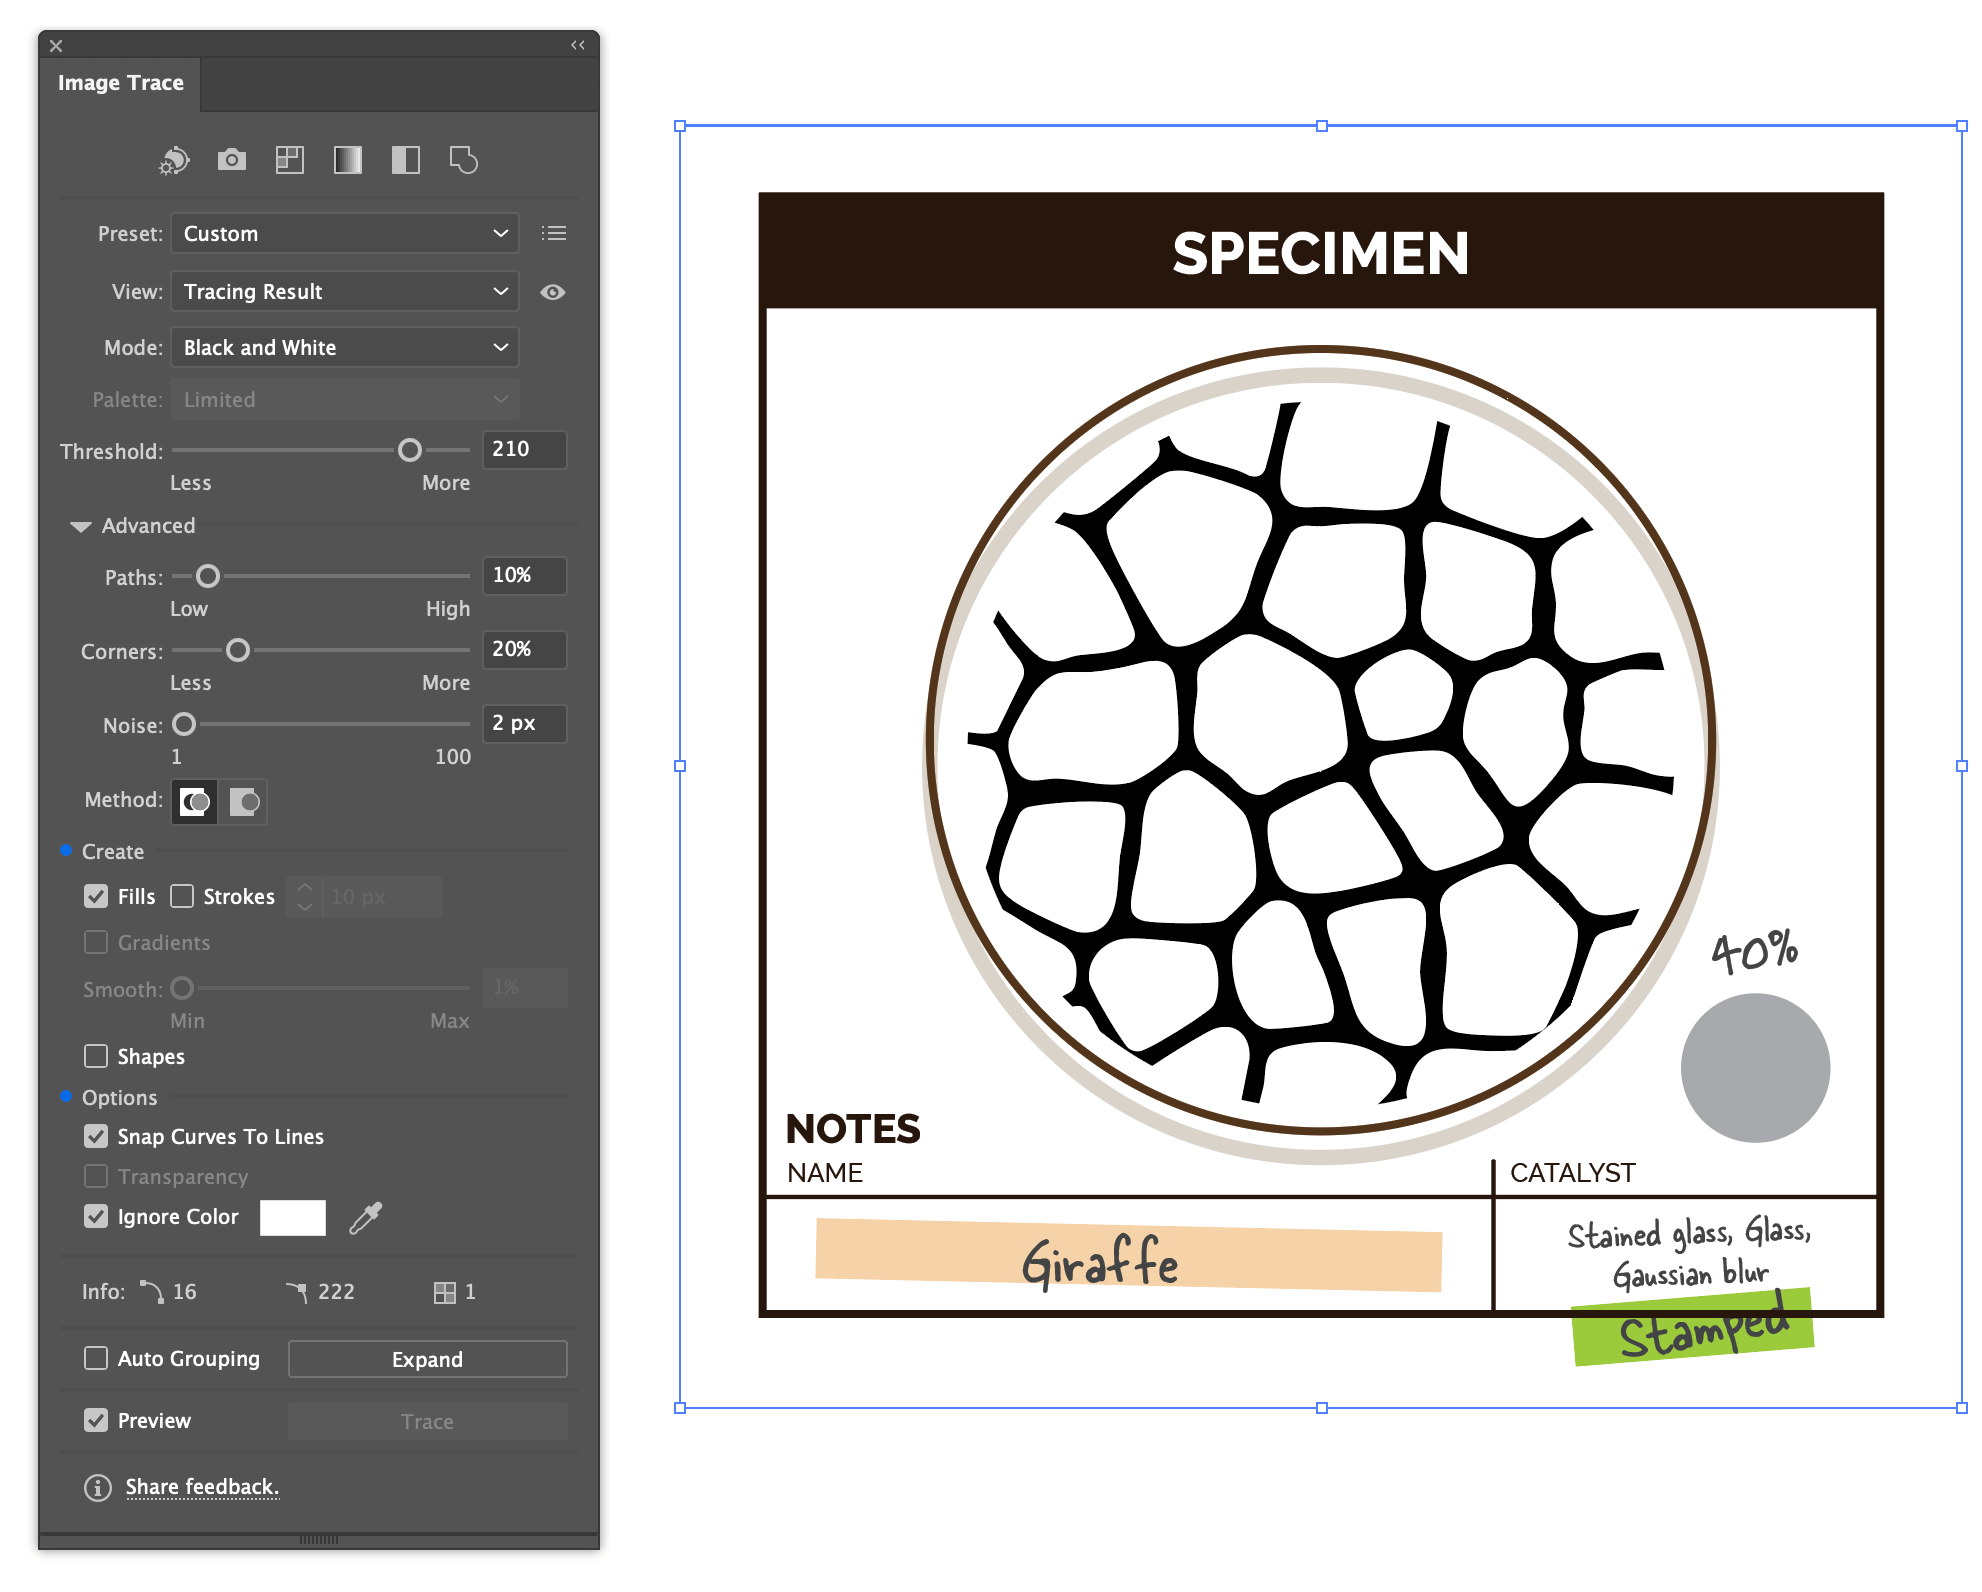
Once expanded, open the Image Trace panel and choose the Preset: Black and White Logo. If the window happens to be disabled, deselect your shape and reselect it. Illustrator sometimes won’t recognize a freshly expanded object unless it is reselected.
As far as the settings go, consider checking Ignore Color: White (or black if you like). The shape will go from black and white (two colors) to a just a single color.
Beyond that, adjust the threshold, paths, corners, and noise until you’re happy with the results—these control how smooth/detailed the trace will be. I try to keep things smooth with as few points and corners as possible.
Destructive edit 2: Expand the image trace
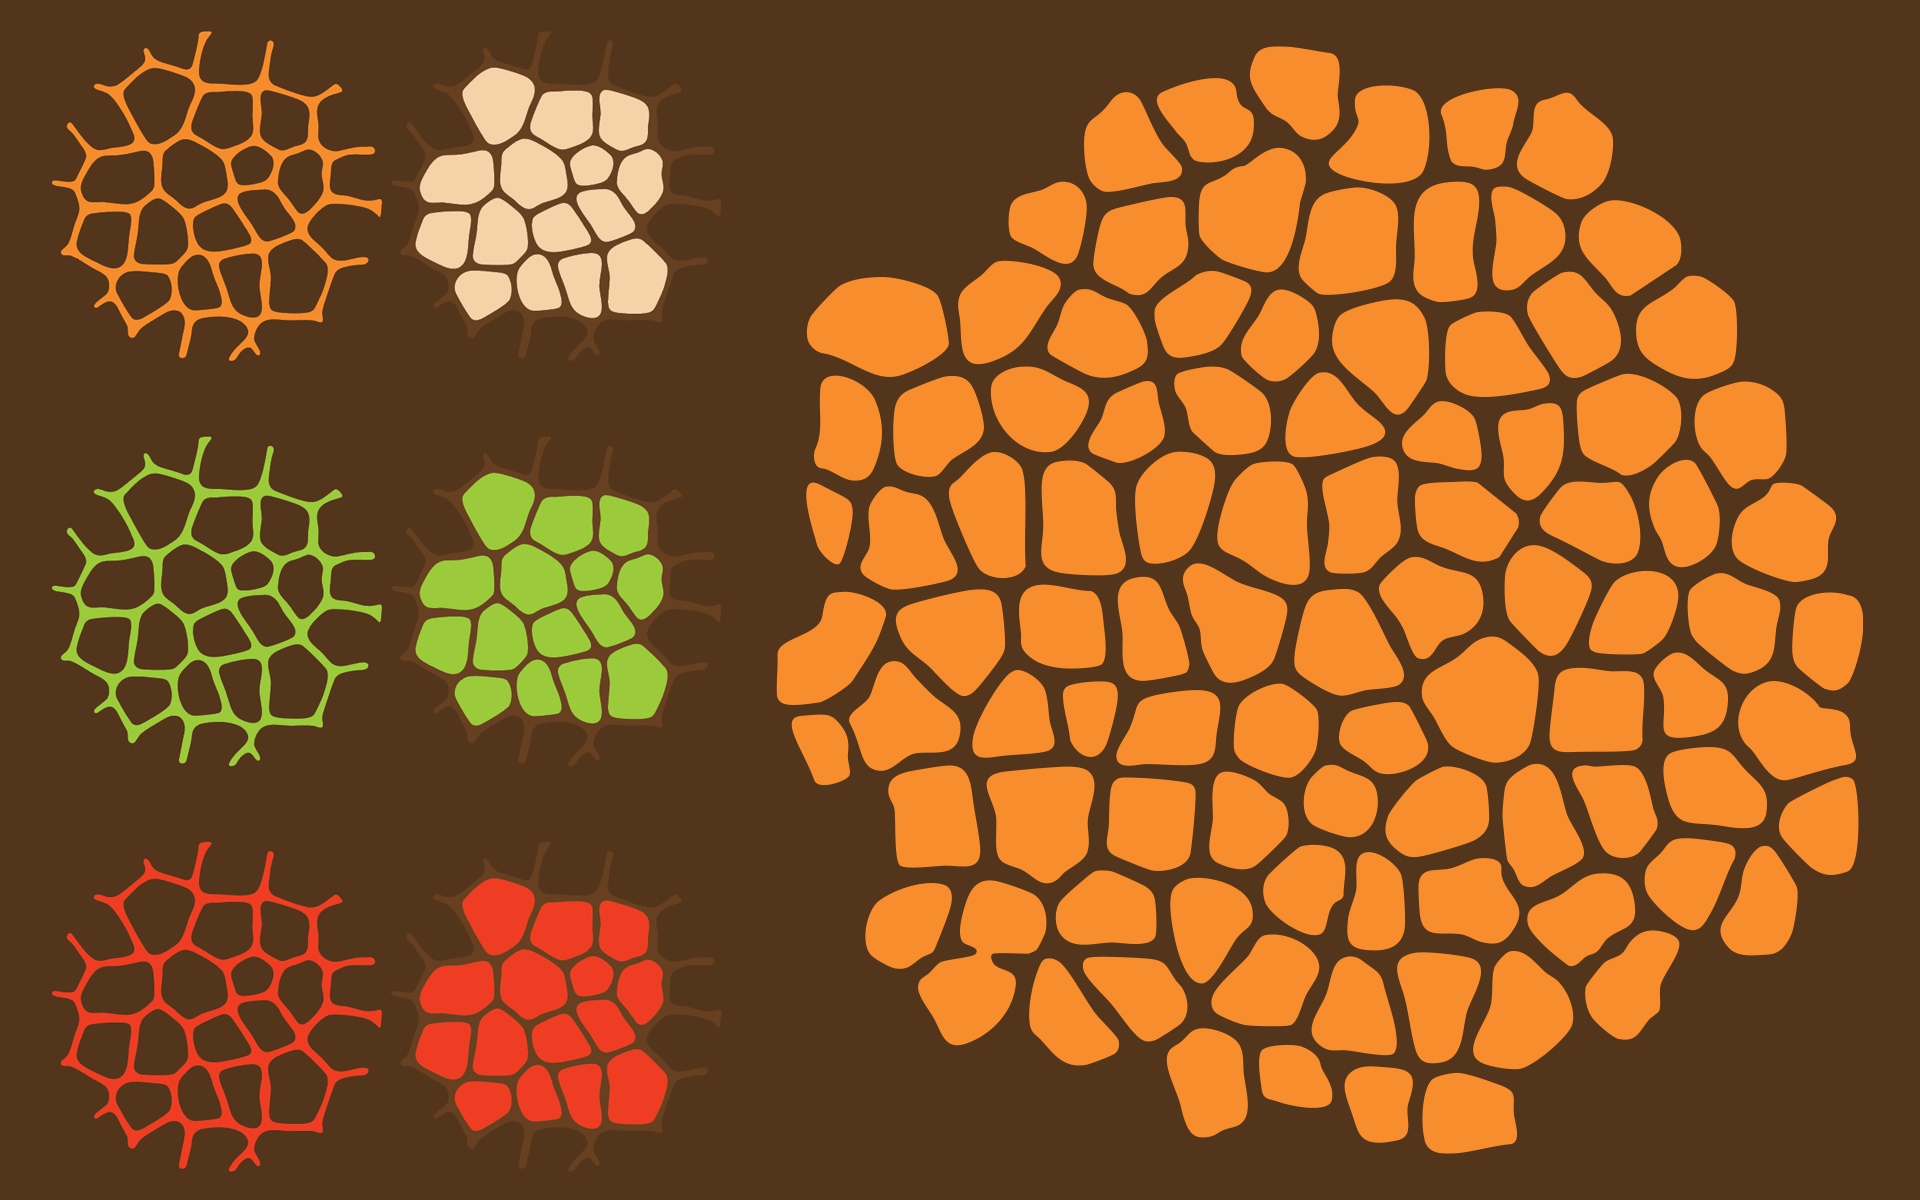
When you’re fine with how it looks, press the Expand button at the bottom of the image trace panel. This applies the image trace and makes all those shapes into vectors. You will now have a finished, fully vectored two (or one) color pattern.
I tend to do a bit more optimizing here with some subtle smoothing to reduce anchor points. From the menu select Object > Path > Smooth… and try somewhere between 2-8%. You should now have a lovely vector pattern that can be colored and resized to your heart’s content.
Some patterns require you to work with the negative space, others give you nice positive shapes. I went back and made a much larger form to help with the upcoming pattern creation.
8. Tiling Turing Patterns
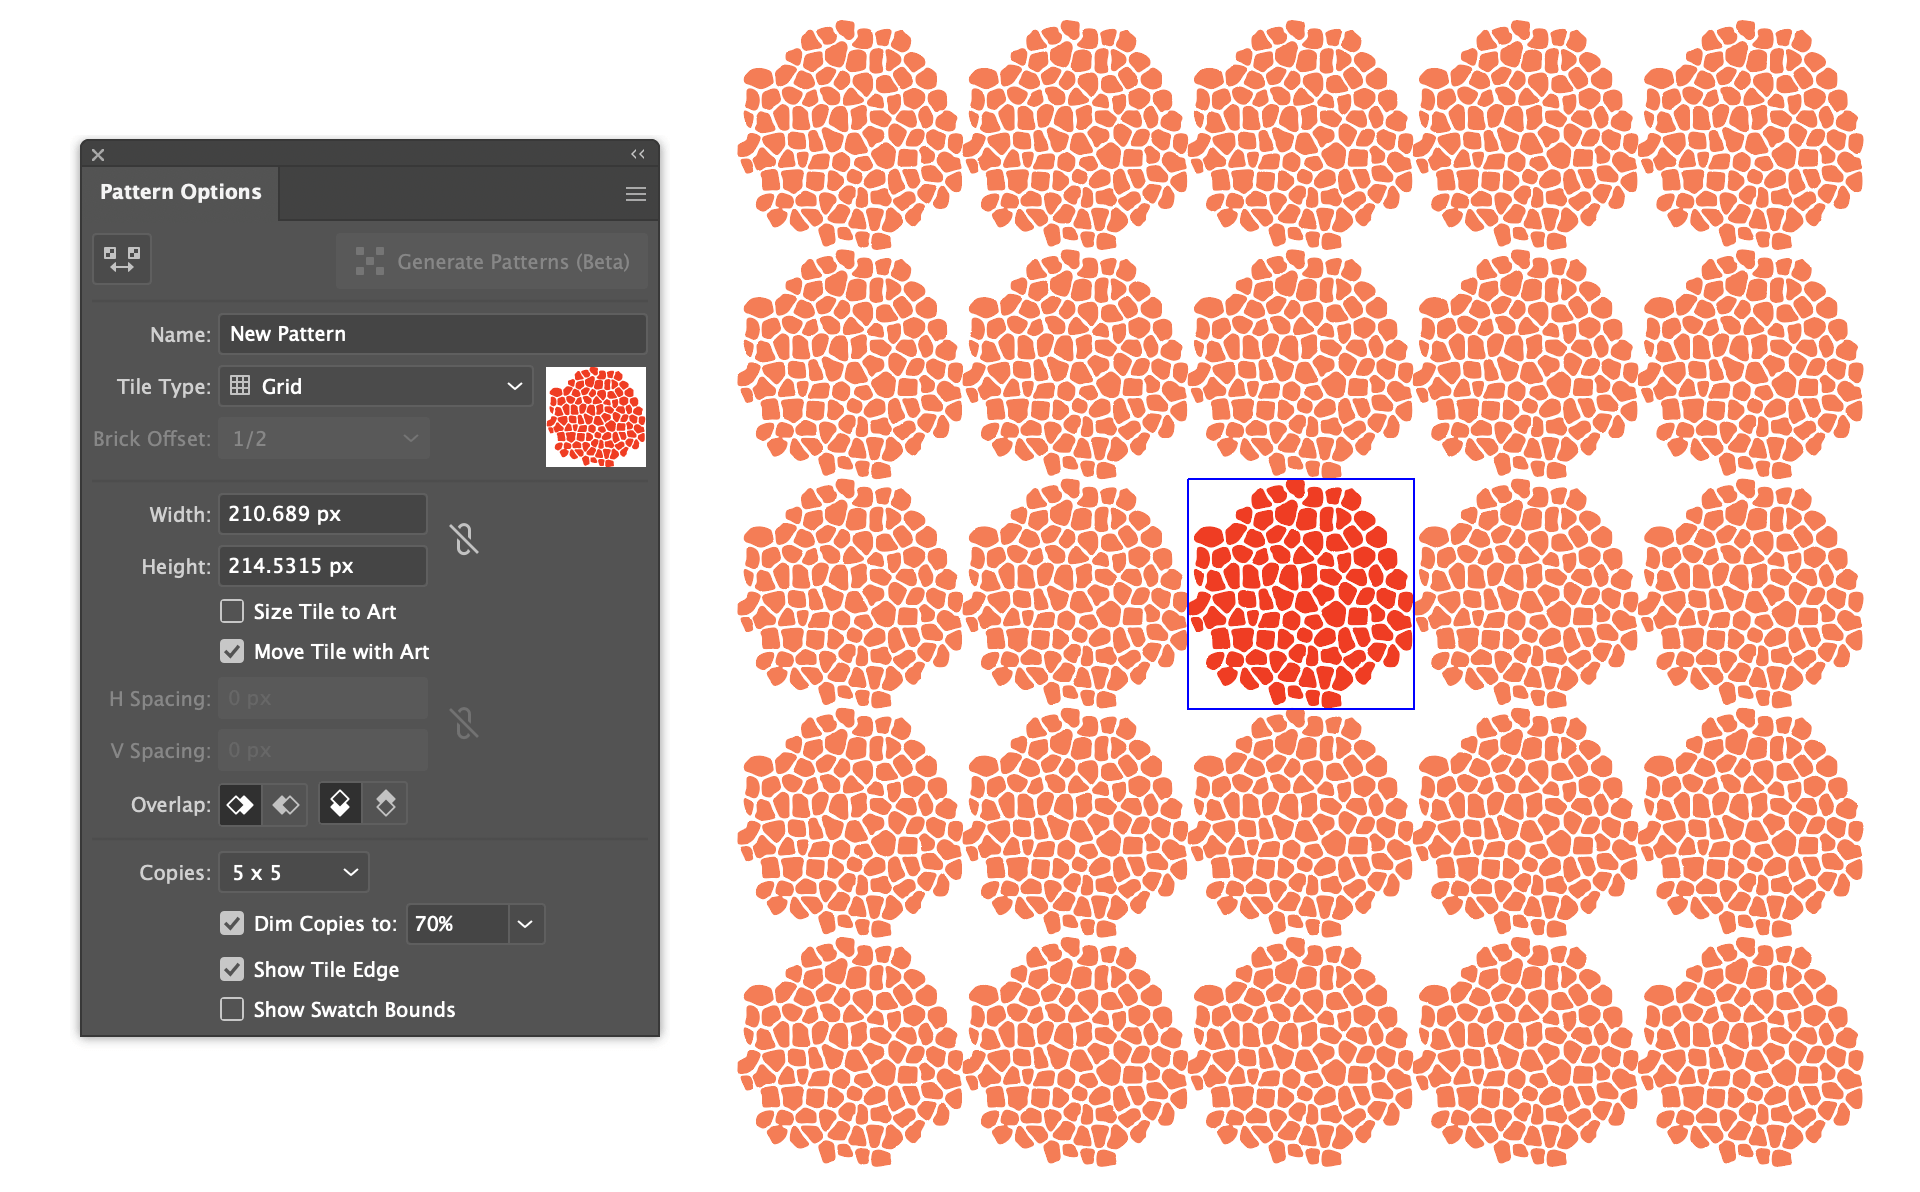
To turn your shapes into a seamless repeating tile, select the entire group and go to Object > Pattern > Make from the menu. Illustrator will open up the pattern maker tool.
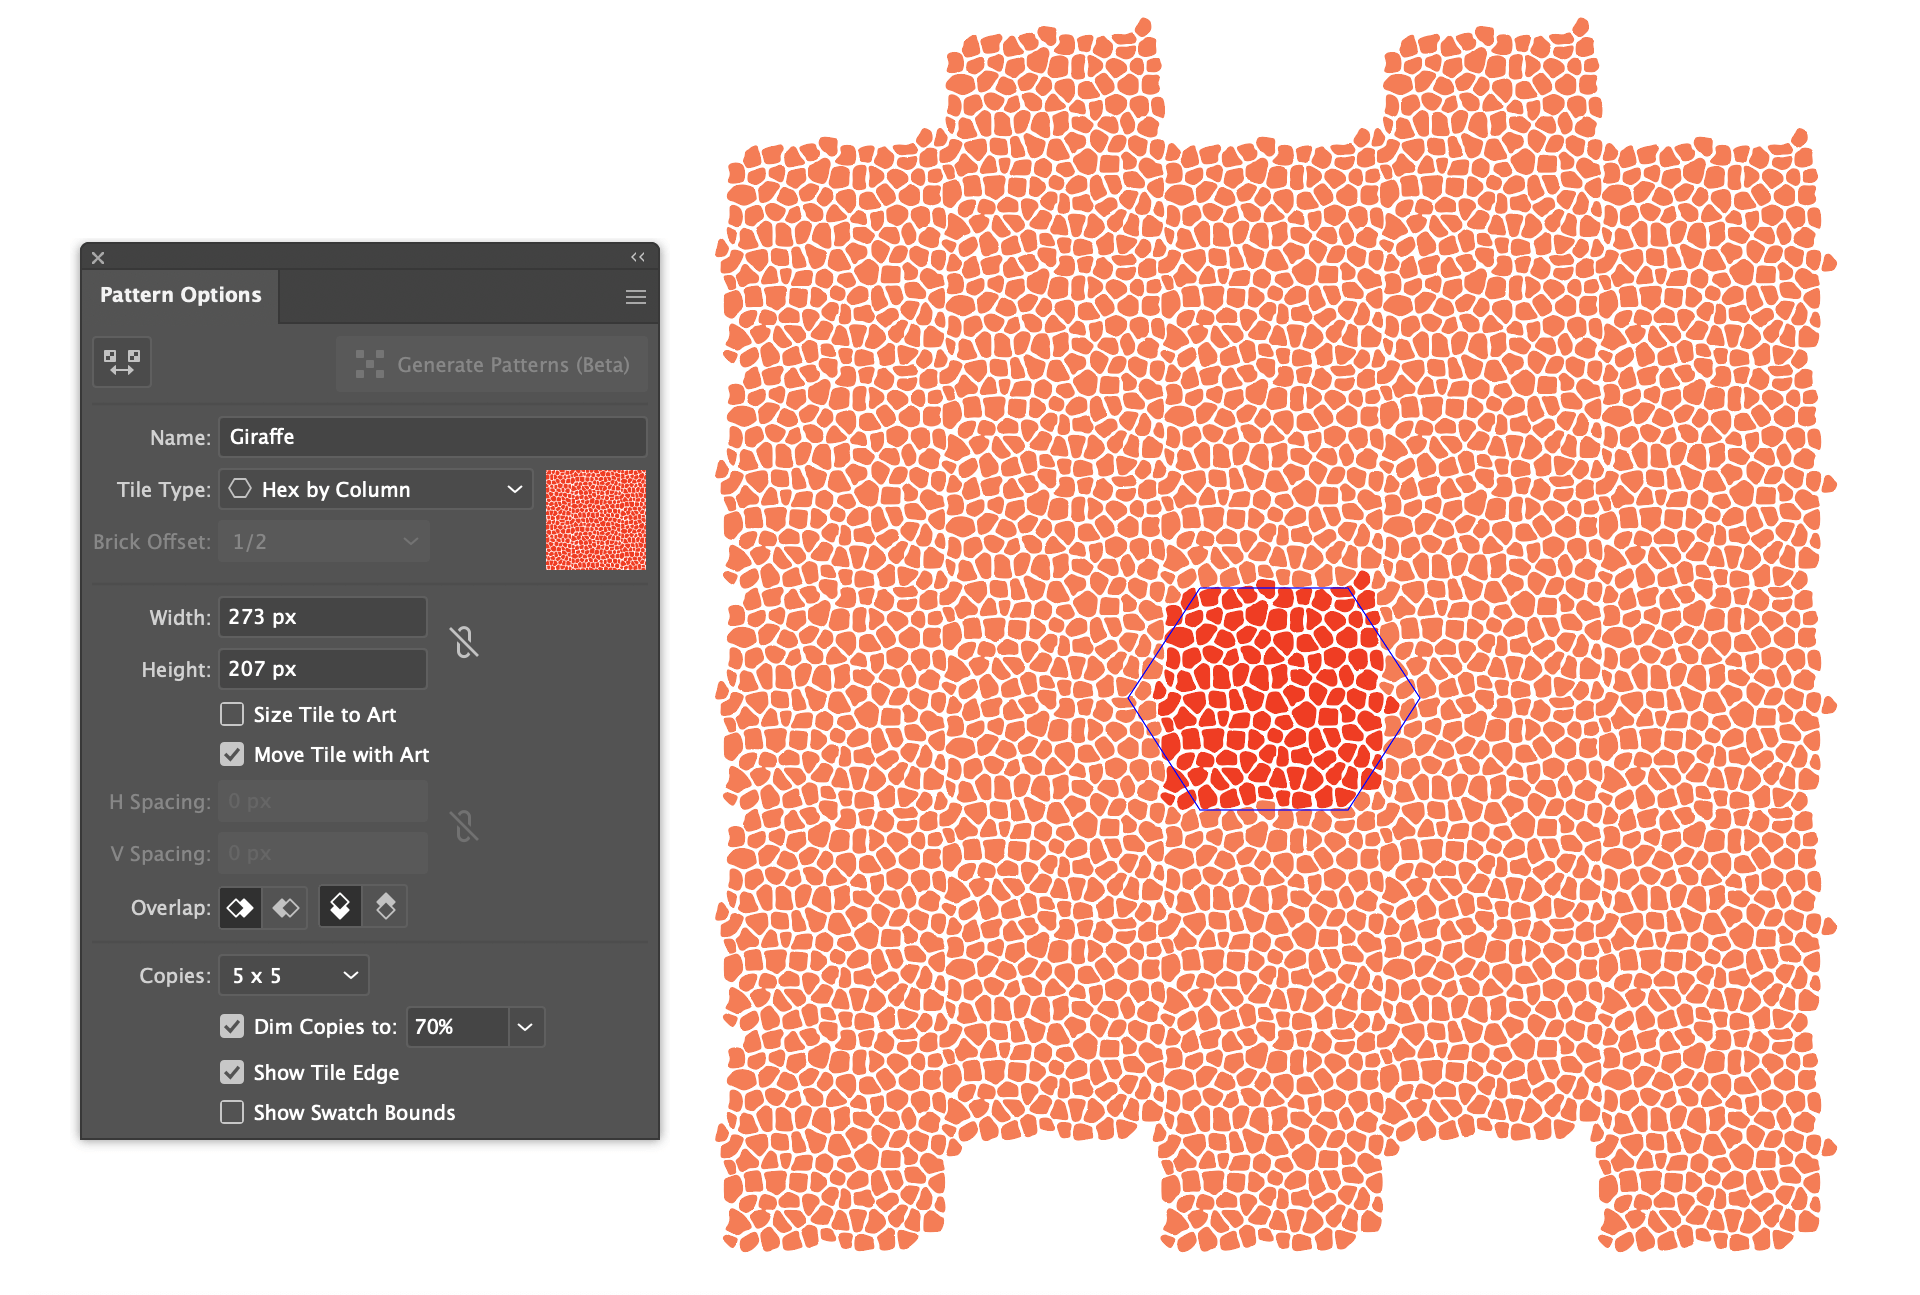
The default won’t look like much. Start by choosing Tile Type > Hex by Row or Hex by Column, or anything else that comes close to looking like a completed pattern.
Adjust the height and width to further refine the tile. My finished giraffe pattern wound up using hexagon columns, and I filled in any incomplete areas with copies of shapes found elsewhere in the grouping, until the entire tile repeated nicely. It does have a bit of a noticeable repeat but I intend to zoom in a bit so it won’t be too bad. Going to give myself a B+ on this… good enough.
I can still see the columns, good, not great.
Here are the repeating patterns from all three specimens. The trickiest elements are the ones with lines that bleed into the surrounding tiles.
I had to heavily edit into the blowfish pattern by hand drawing the noodles so they connect with the ghost copies in neighboring tiles. And the leopard pattern needed love as well—the lighter yellow areas inside each group of spots had to be drawn by hand. It can be a bit… tedious, but the results are beautiful and reusable.
Pro Tip: Try other pattern symmetries
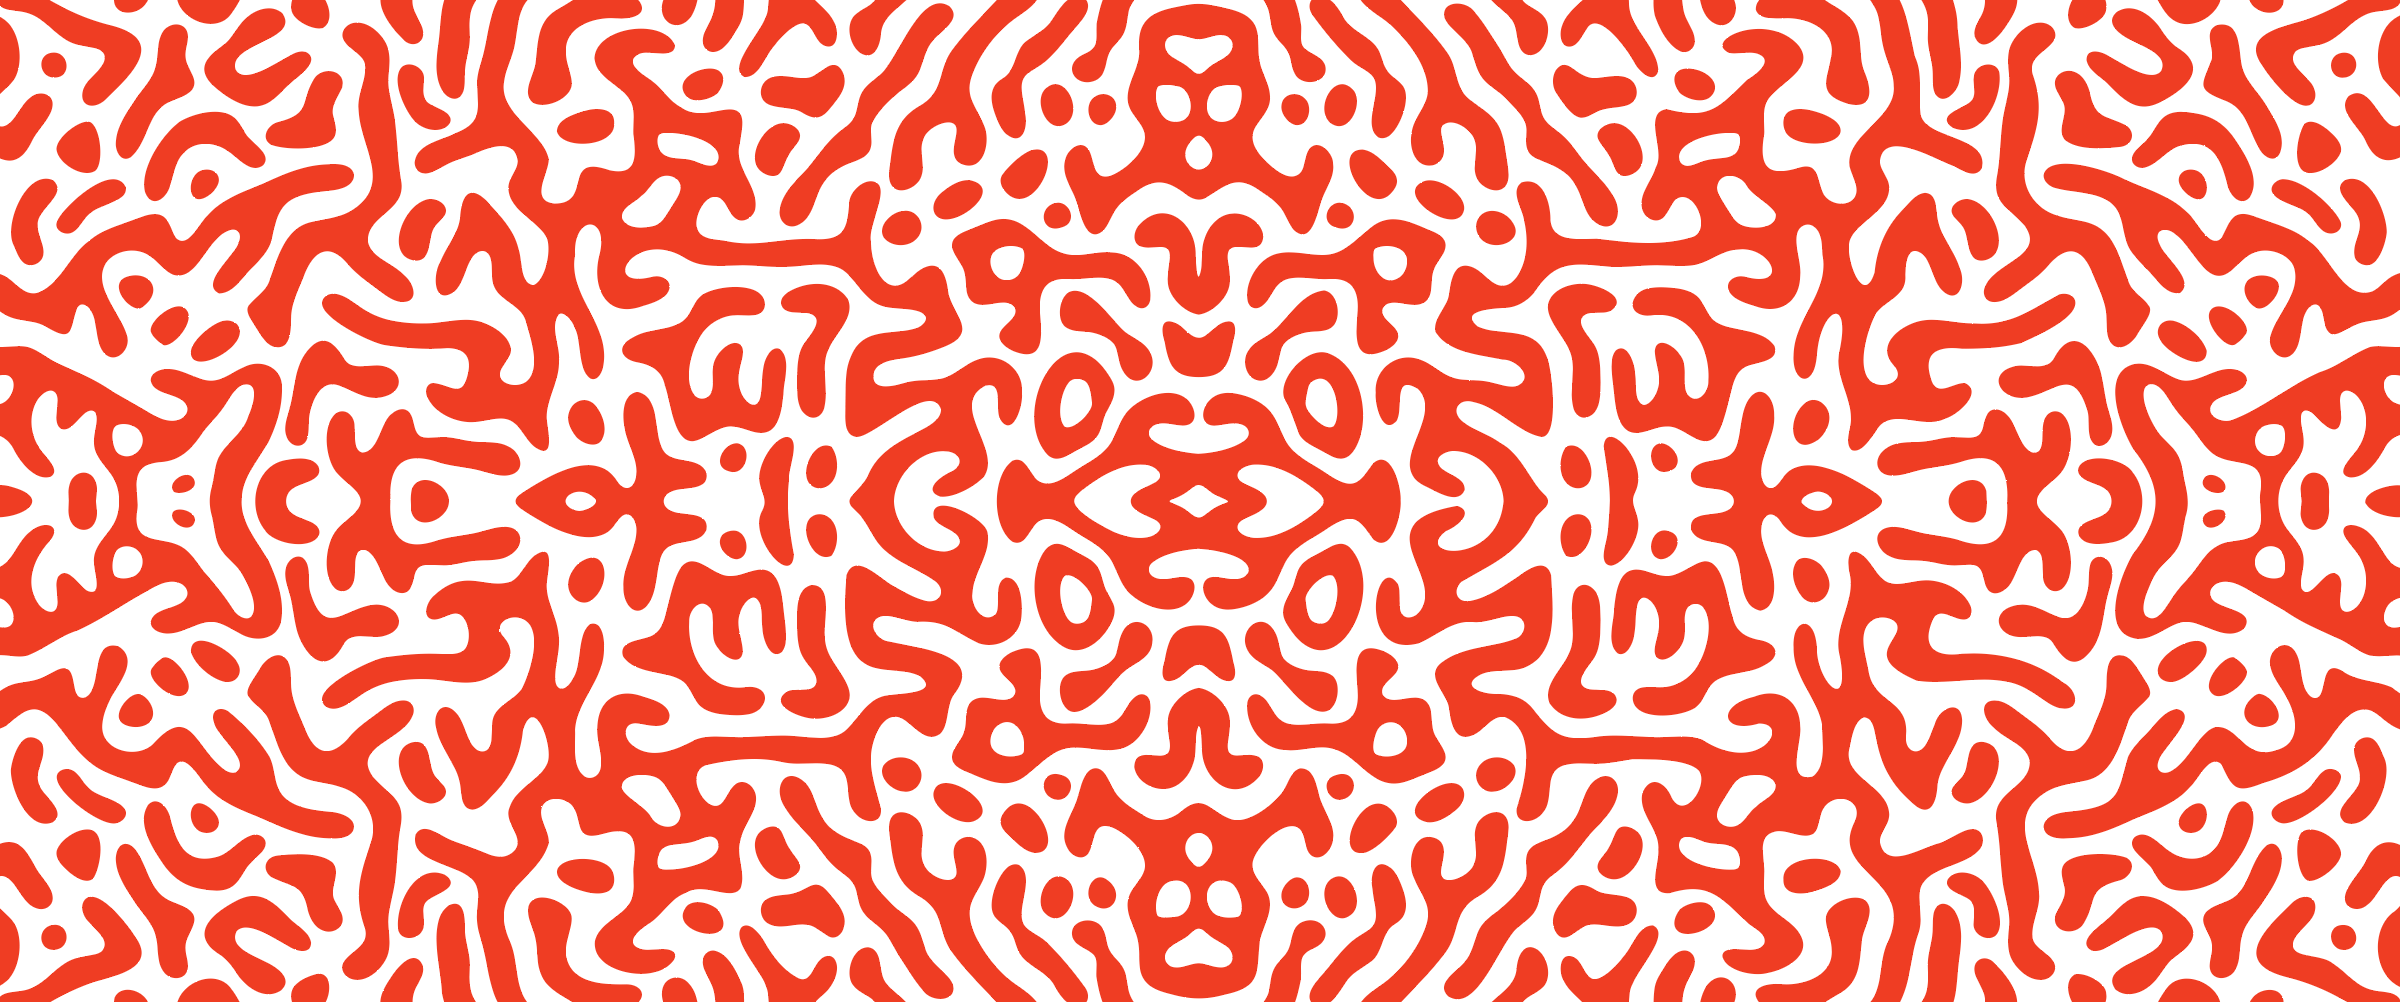
Yet another option is to make a mirror image of the pattern and create a symmetrical design. By cutting a side (or sides) off the pattern, duplicating it, and flipping the design, some nice bilateral or radial symmetries can be formed.
9. Using Your new Turing patterns
Now that you have a working knowledge of making Turing patterns in Illustrator, it’s possible to create all kinds of forms and structures that add character to any design—printed goods, digital assets, product design, illustration, and more.
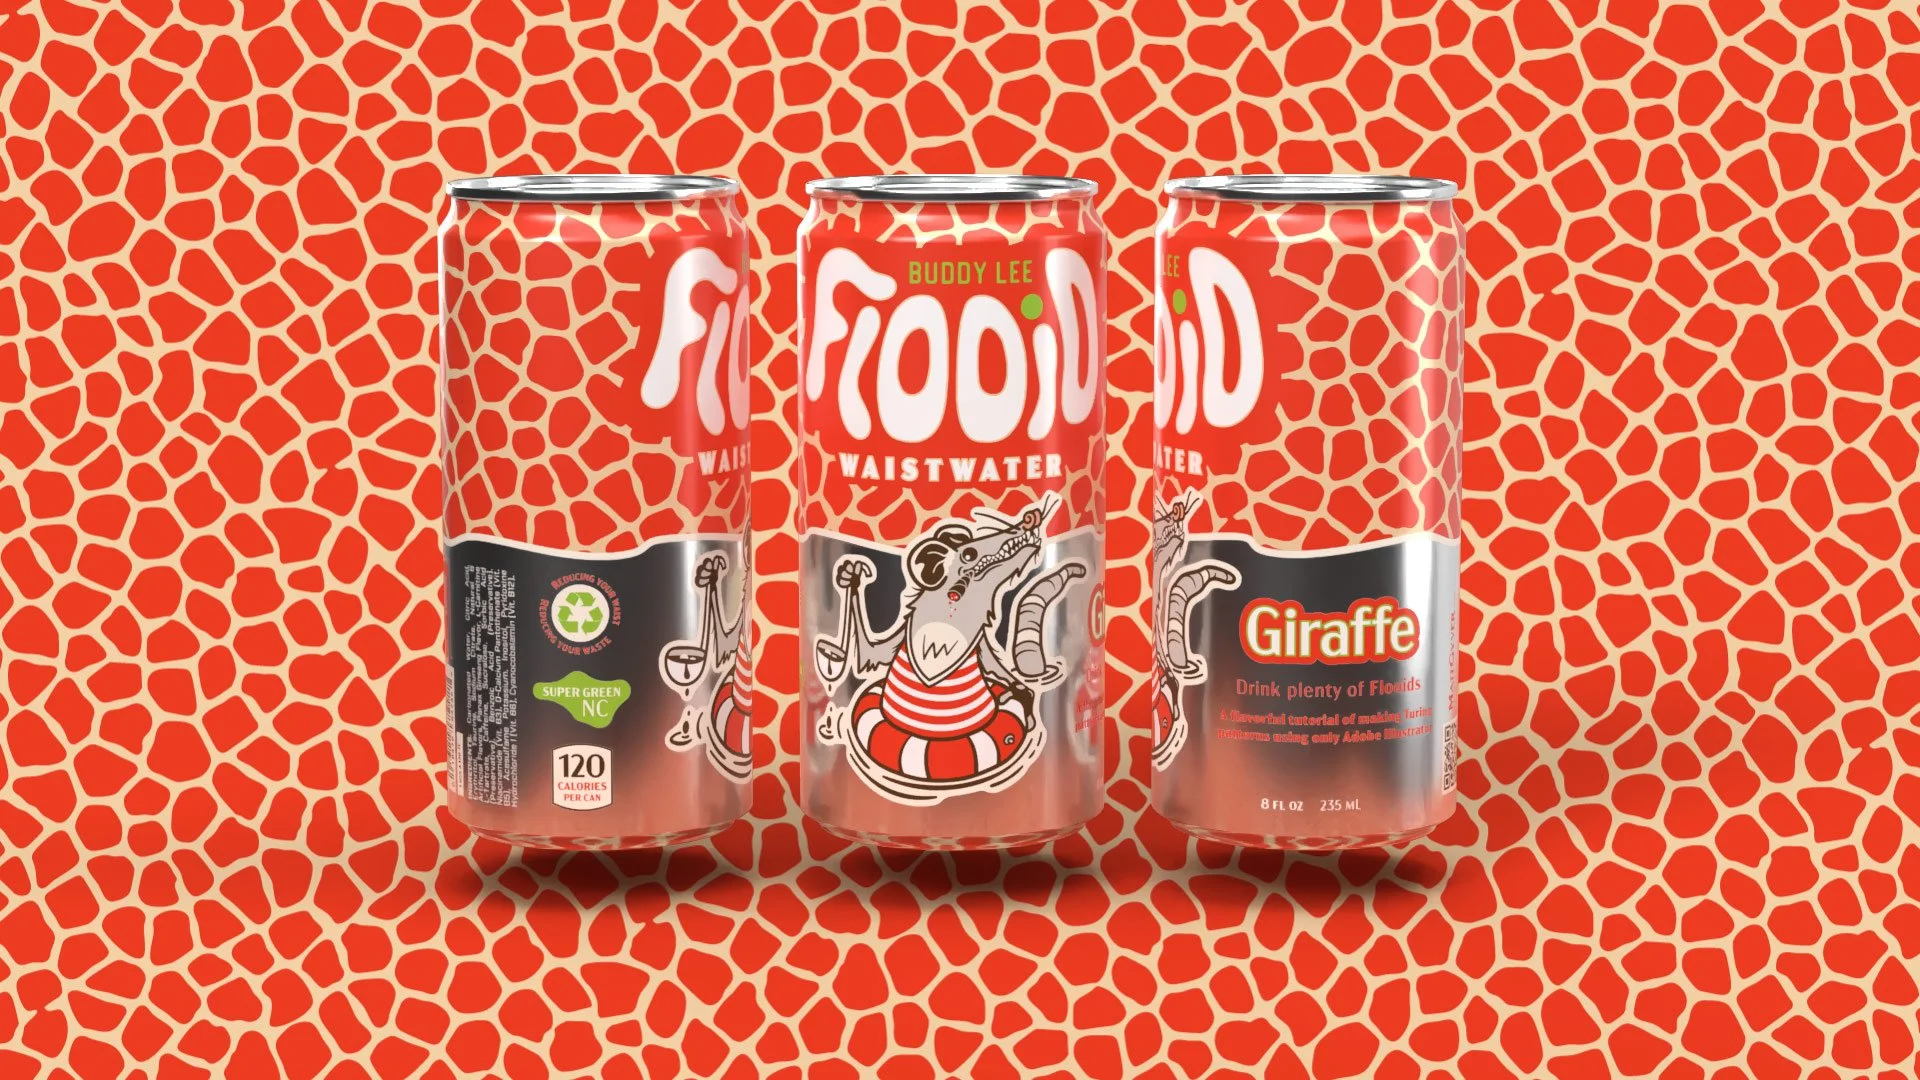
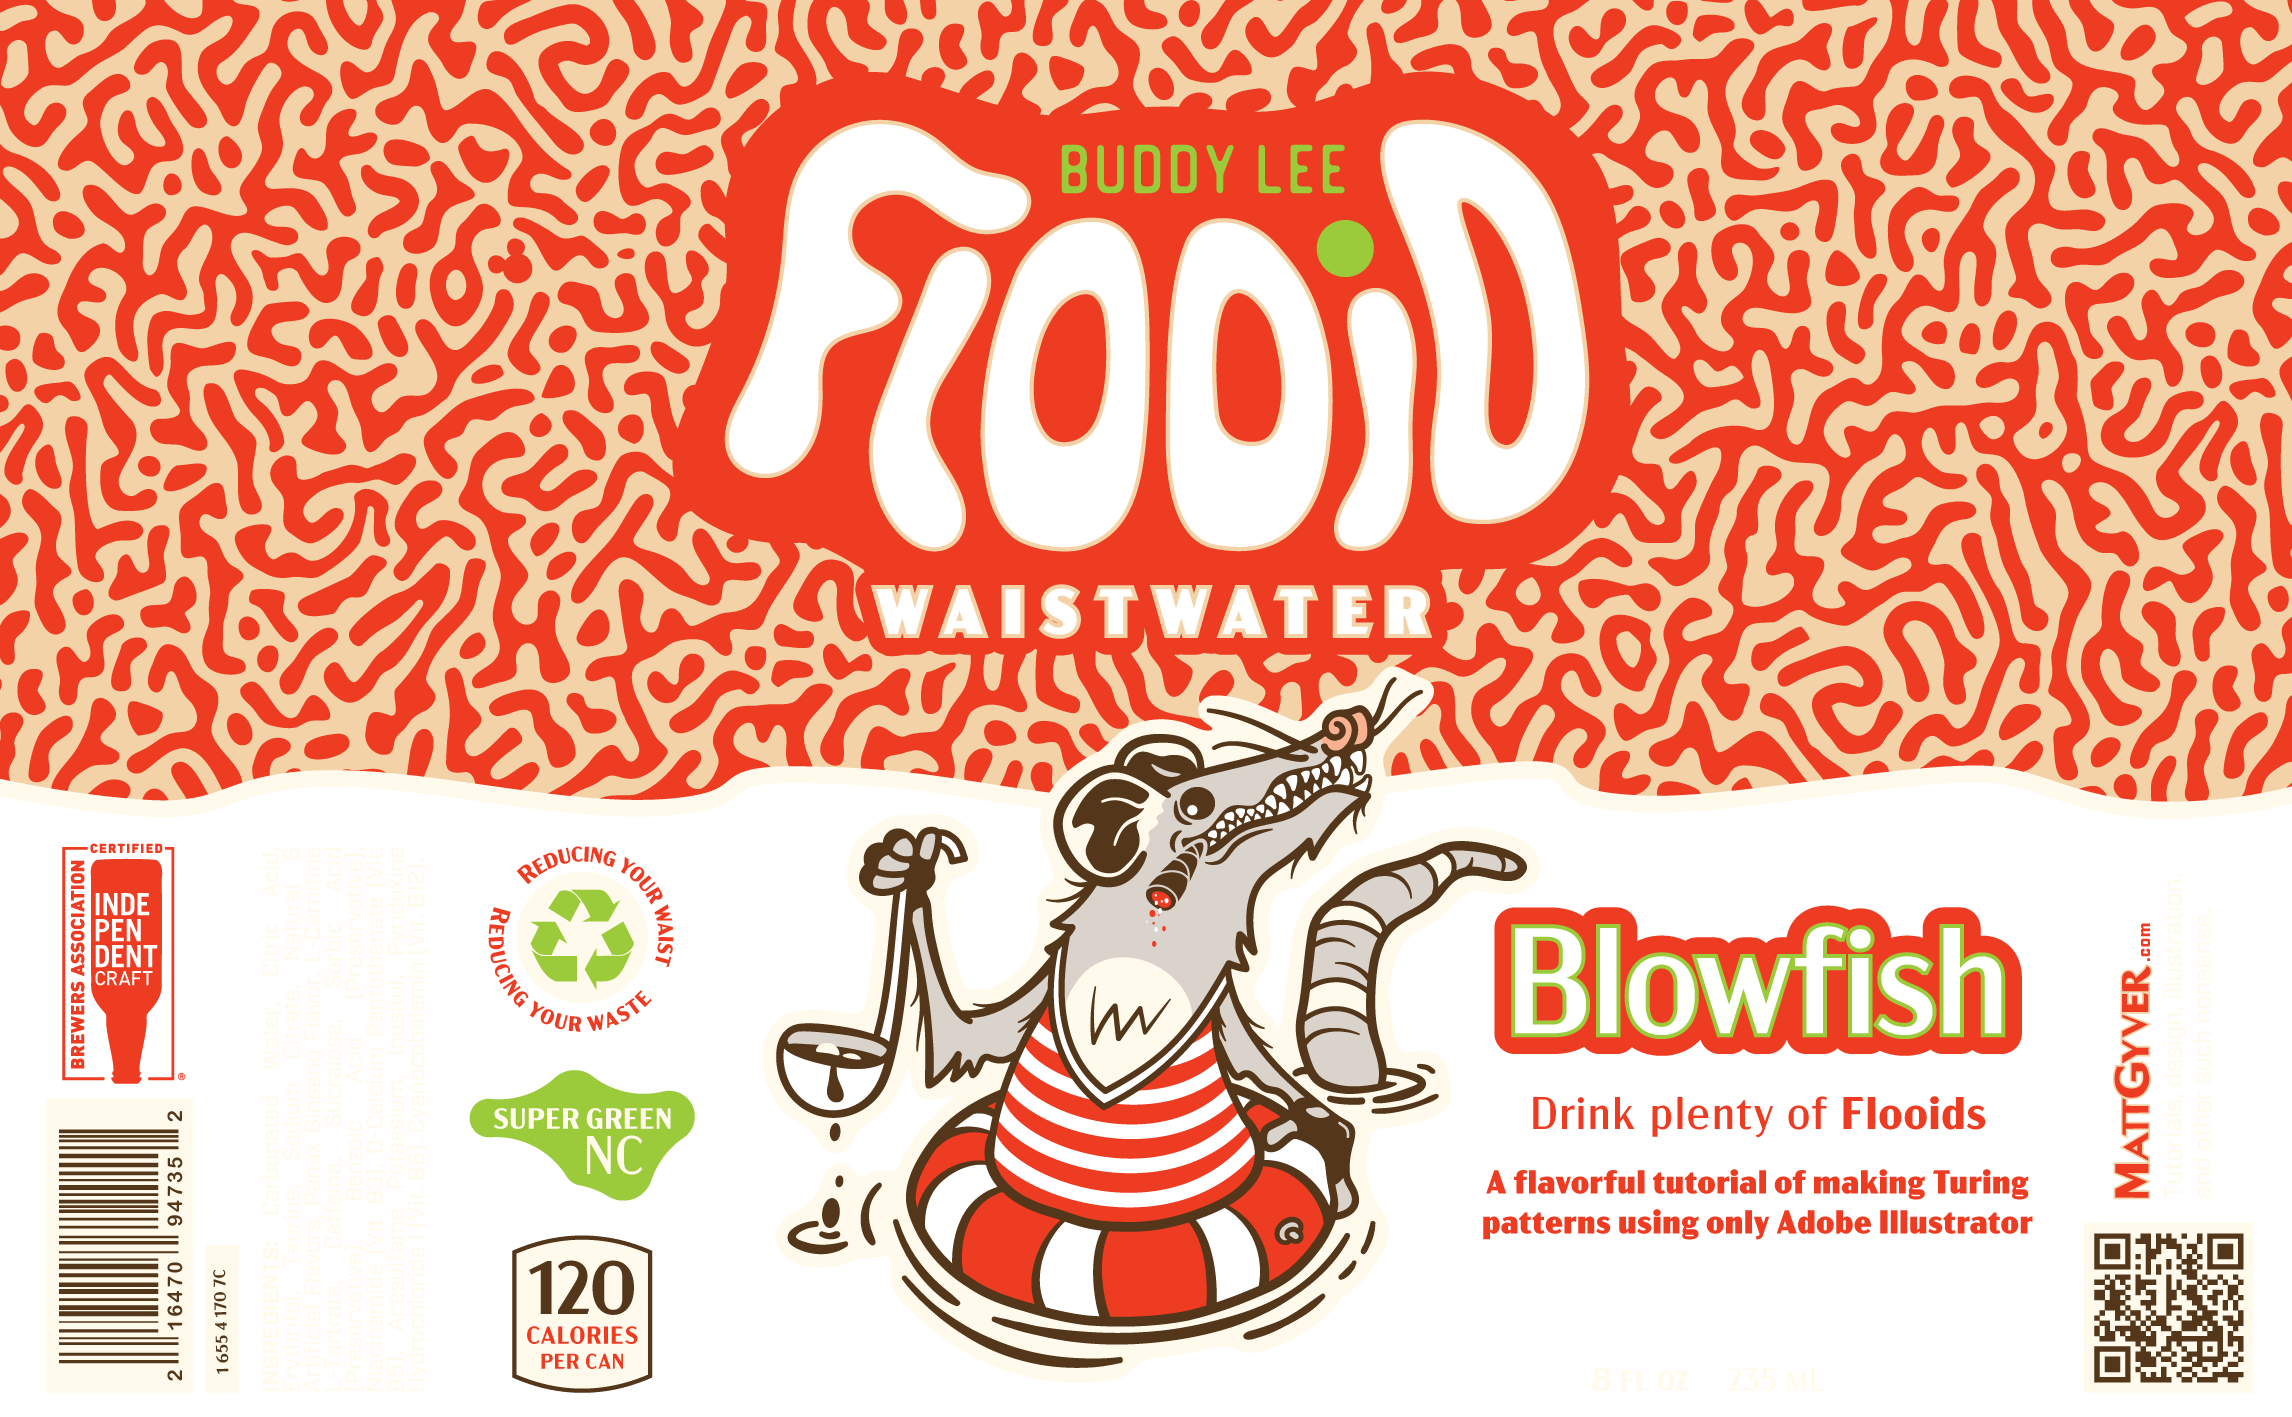
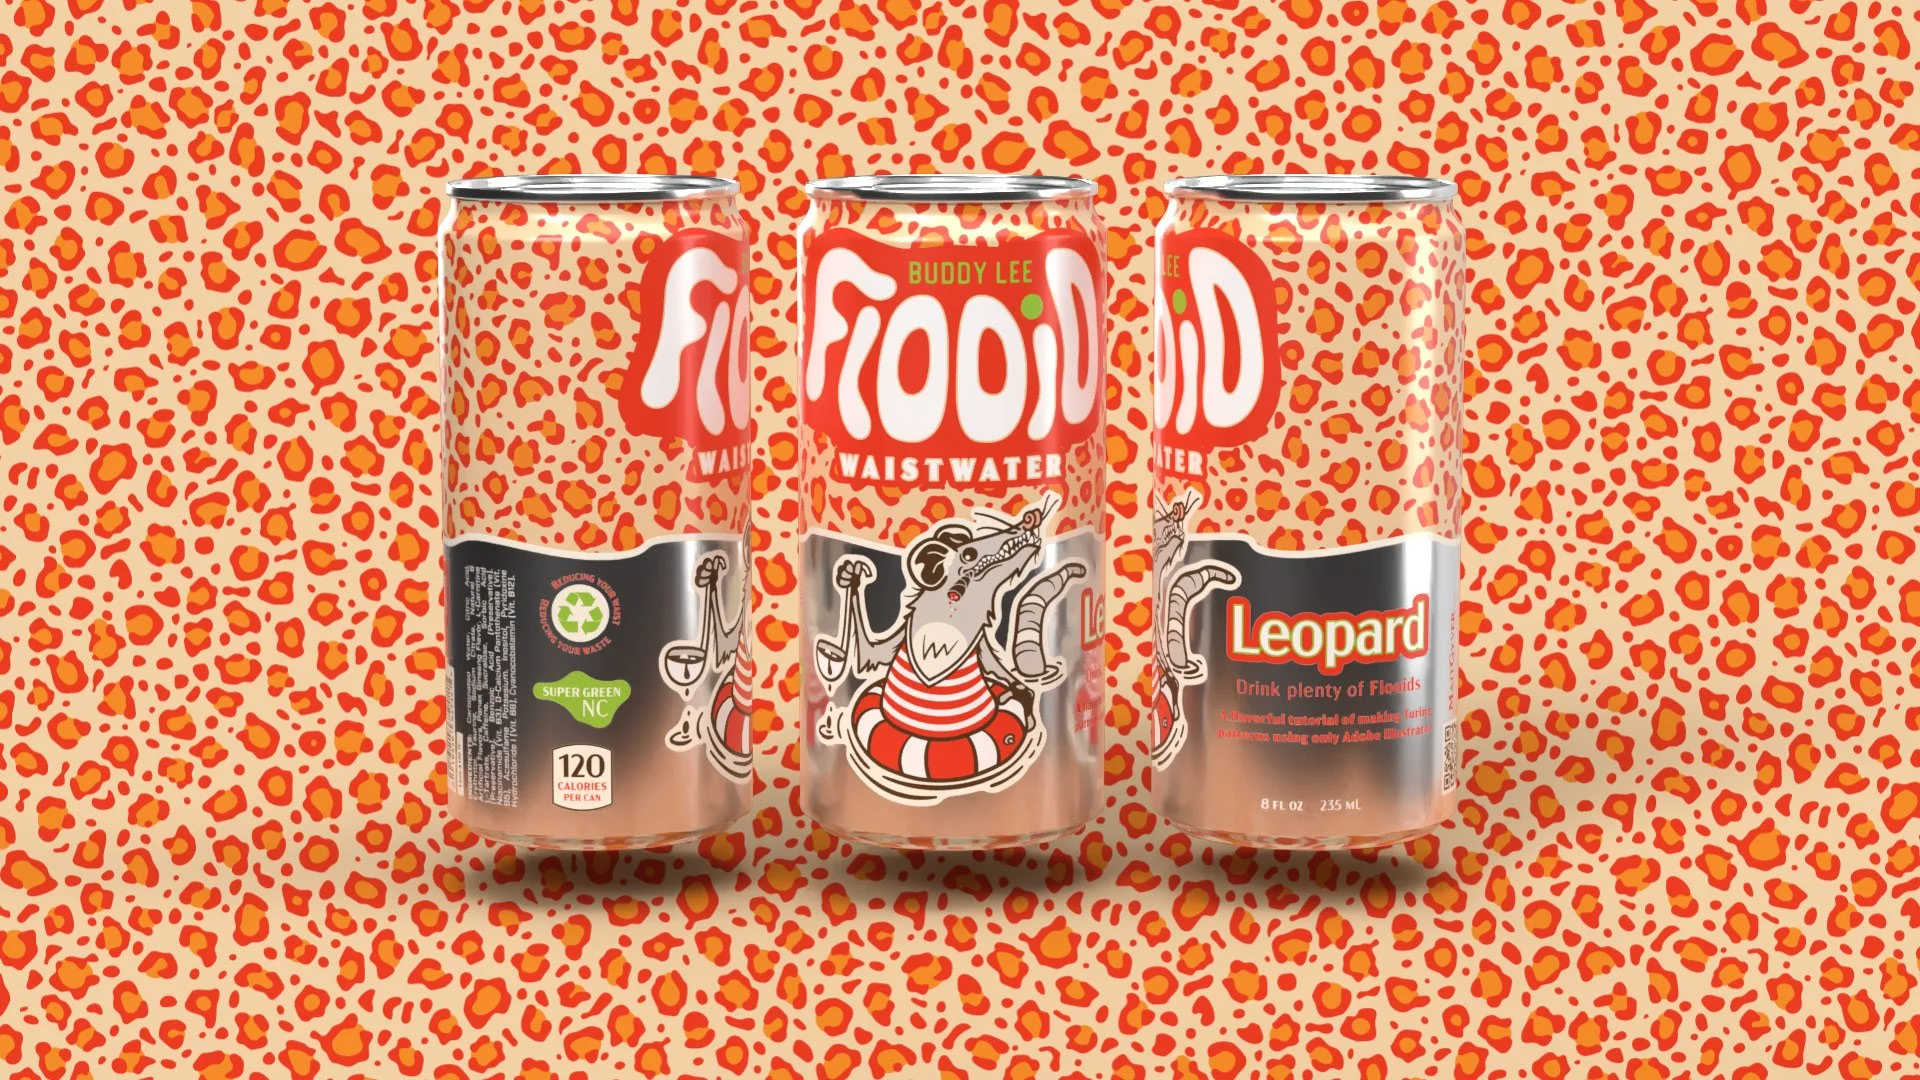
Enjoy this fake product inspiration. I feel like ‘Waistwater’ could be a fantastic diet beverage name…
And don’t forget these patterns make fantastic fill textures, watermarks, and shadows for illustrations. And because everything is vector, it’s easy to adjust the color, scale, and rotation to fit anything.
Wrapping Up
Thanks for reading! I’ll be adding a companion article to this which covers patterns a bit more, including a few interesting designs (tessellation) and how to export the individual tile to use in other places like Photoshop.


